





Kickstart Your First Revit Drawing Set: A Practical Roadmap for Beginners

Why a Structured Approach Matters in Revit Drawing Sets
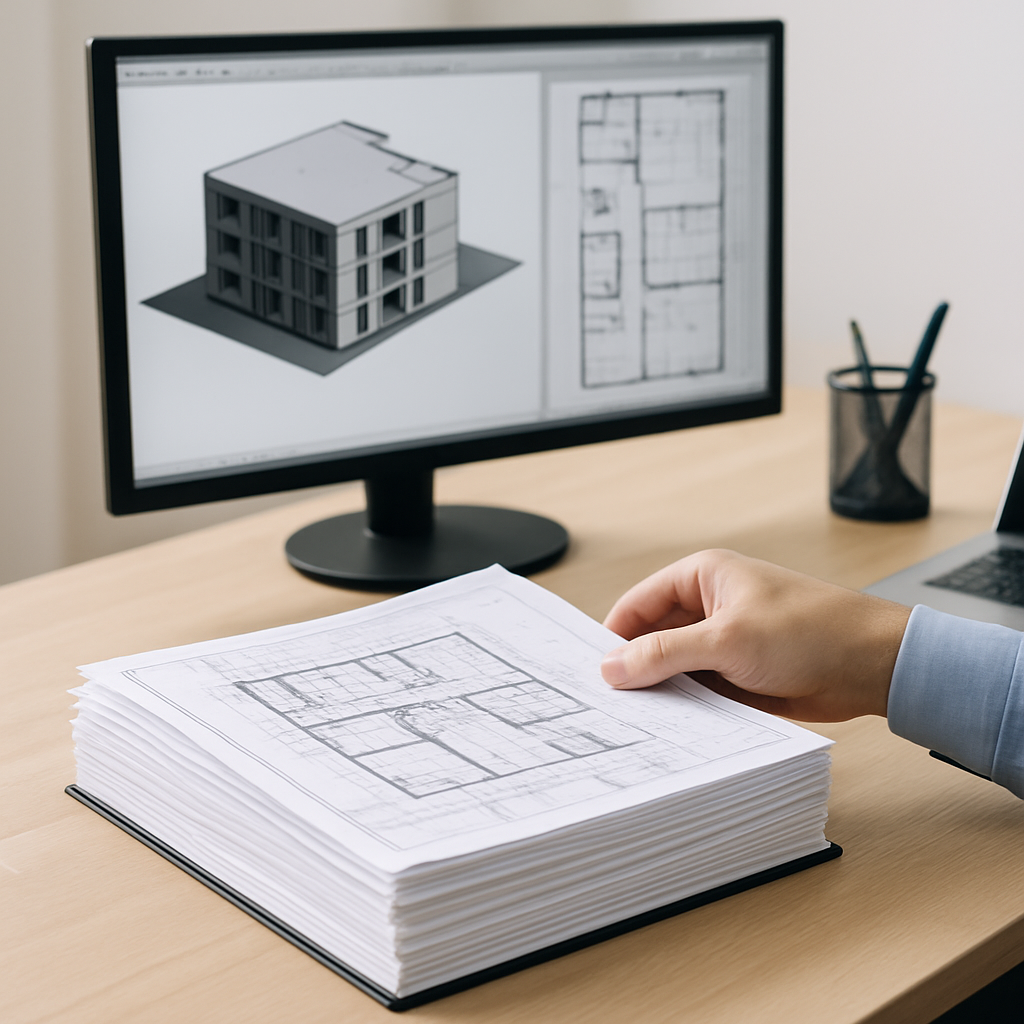
If you’re just getting your feet wet in architectural design or making the leap from old-school 2D drafting to Building Information Modeling (BIM), figuring out how to start a Revit drawing set can seem downright intimidating. Trust me—Revit isn’t just another digital drafting board. It’s this interconnected web where your geometry, information, and all your documentation come together. Jumping in without a game plan? That usually ends in tangled files, duplicated work, and more than a few headaches for you and anyone else on your team. Instead, if you treat your drawing set as a deliberate, step-by-step process, you’ll dodge those rookie mistakes and set yourself up for smooth sailing right from the jump.
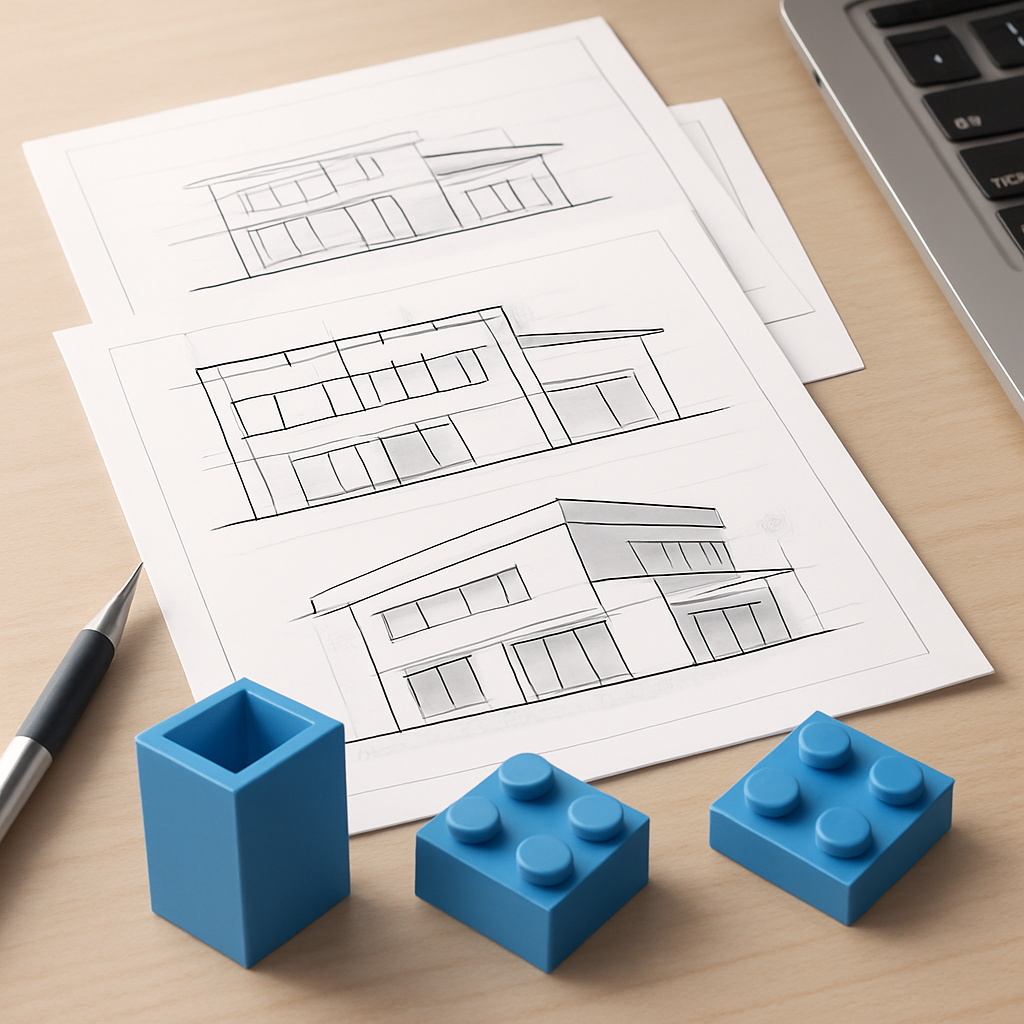
Here’s the thing: Revit’s real magic shows up when you let the model do the heavy lifting for your documentation. But if you slap together your drawing set without much thought, you end up missing out on the very features that make Revit awesome—automatic updates, clean consistency, and seamless coordination. Especially if you’re new to this, it pays to slow down and really think about how your sheets, views, and modeled elements will talk to each other, not just how they’ll appear on the page. When you grasp the “why” behind Revit’s workflows, you’ll make smarter calls and thank yourself later when everything’s running like clockwork.
Let’s be real for a second: every project comes with its own weird quirks. Designing a cozy house is a world away from laying out a massive retail space. Still, those key starting steps—like getting your project browser sorted, setting up your templates, and using consistent naming—those are universal. They’re the little details that most tutorials gloss over, but honestly, this is the stuff that trips up beginners the most. Put in the effort at the start, and your drawing set will almost take care of itself as your project grows and changes.
Starting your Revit drawing set with intention isn’t about ticking boxes for the sake of it. It’s really about making sure your ideas come through loud and clear to your team, your consultants, and, in the end, your client. That initial structure you create—the foundation—will echo through every detail, every revision. So, getting it right at the beginning? That’s not just important, it’s essential.
The Building Blocks: Templates, Views, and Naming Conventions
One of your very first choices in Revit looks pretty straightforward: which template should you start with? The temptation to open up a blank project is real (it feels freeing!)—but unless you have a really good reason, skip it. Lean into your office’s standard template, or look for industry templates that already come loaded with essential sheets, view templates, and families. This isn’t just about saving time, though it definitely helps. It’s about setting yourself up for consistency and avoiding unnecessary surprises down the road. And if you’re flying solo or in a small studio, this is a great chance to craft your own template. Consider it your digital foundation for every set you’ll ever put together.
After that, shift your focus to the views. In Revit, your project is built on a series of views—think plans, elevations, sections, and details. These are the heartbeat of your drawing set. Don’t settle for the default ones Revit spits out. Instead, duplicate them and give them names that tell you exactly what they’re for. Create working plans for modeling, annotation plans for documentation, and set up specialty views for things like code analysis, structural work, or even just interior elevations if you need them. Laying the groundwork here means that once you’re knee-deep in design development, you’ll still be able to keep tabs on your set without losing your mind.
Let’s talk naming conventions—honestly, they’re way more important than most folks realize. Come up with a system that makes sense, like “A101 – Floor Plan – Level 1.” Not only does that make things easy to find, it keeps your growing set from turning into a needle-in-a-haystack situation. Stay consistent with your prefixes, sheet numbers, and descriptions. And if you’re part of a team, get everyone on board with your naming approach right away and stick to it religiously. You wouldn’t believe how much time can get eaten up searching for the right view just because of sloppy naming habits.
Here’s another pro tip: set up your sheets before you start dropping in drawings. Create placeholder sheets for everything major you expect to include—even if you don’t have the content ready yet. This way, you get a bird’s-eye view of your whole set from the start, so gaps and overlaps don’t sneak up and catch you off guard later on.
Setting Up Your Titleblocks and Sheet Organization
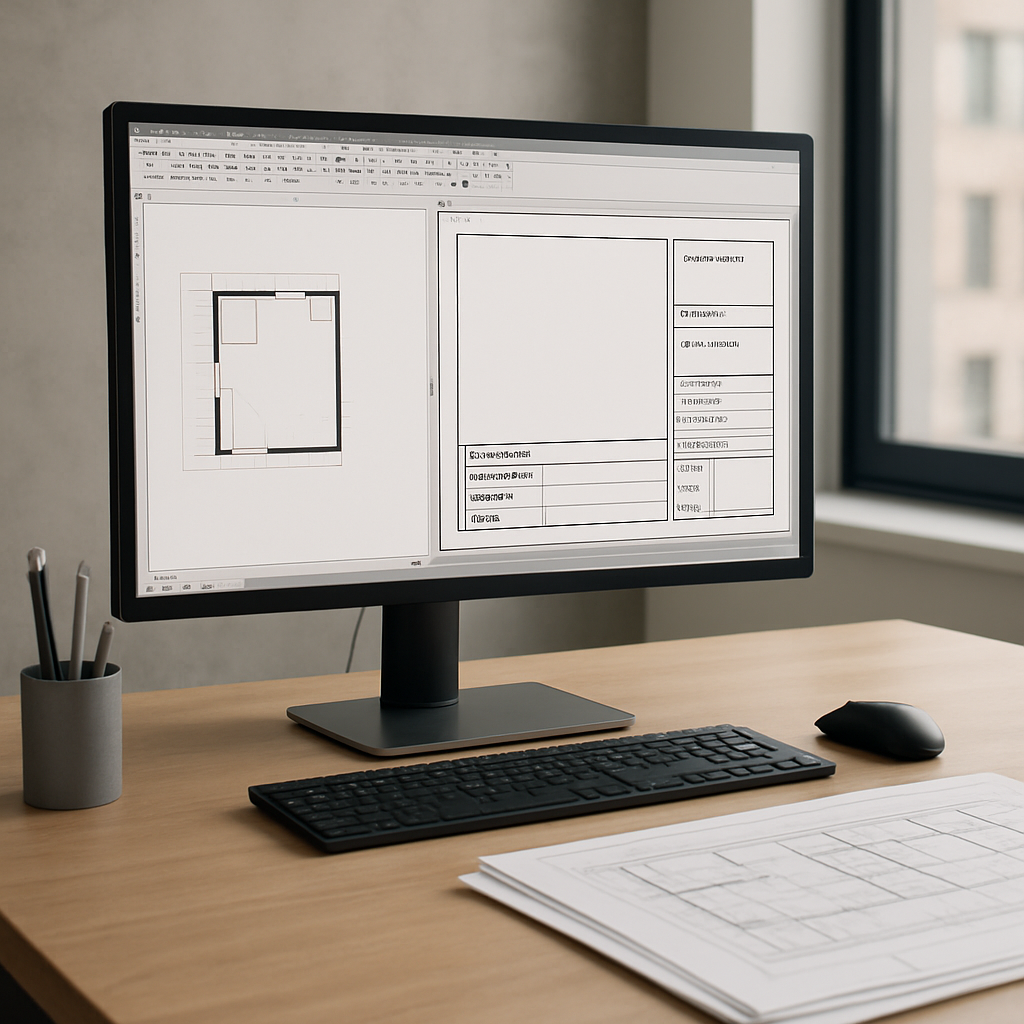
Now, about titleblocks—they’re a lot more than just a spot for your logo and a neat border. In Revit, the titleblock is a dynamic object that can automatically pull in project info, revision data, and all sorts of details specific to each sheet. If you’re starting fresh, either bring in your firm’s titleblock family or make one yourself using the family editor. Be sure to set it up with parameters for everything you’ll actually need: project number, sheet name, who drew it, who checked it, and anything else that matters in your workflow. Do it right once, and you won’t have to sweat about updating every single sheet by hand or missing a detail when things change.
When it comes to organizing your sheets, it’s a game of logic and clarity. Group related sheets together—like all your plans, then elevations, then sections and details. Use a sheet numbering system that reflects this flow. For instance, maybe all your floor plans live in the A100s, elevations in the A200s, and so on. Reviewers and contractors love this kind of order because it makes flipping through your set so much quicker. For bigger projects, you might even break things down further with subgroups or custom parameters by discipline or project phase—whatever helps keep chaos at bay.
Another trick that’s often overlooked: use a sheet list or drawing schedule right inside your set. Revit can generate these automatically, so you get a live inventory of every sheet in your project. Add or remove a sheet, and the list updates like magic. This is one of those features that always looks more professional—plus, it’s a lifesaver when you’re submitting for permits or handing things over for construction and need to be sure nothing’s missing (or accidentally doubled up).
And don’t forget about the digital side of things. If you’re working with consultants or clients remotely (which, let’s be honest, is pretty much the norm now), think about how your sheets will be exported and shared. Set up your PDF export settings, add drawing issue stamps, and sort out digital signatures right from the start. Prepping these workflows early means you won’t be scrambling at the eleventh hour when a deadline suddenly pops up.
Modeling with Documentation in Mind
One mistake I see all the time (especially with folks new to Revit) is treating the model and the drawing set as two separate beasts. But here’s the reality: every choice you make while modeling ripples through to your documents. For example, if you fudge the wall heights or get lazy with level offsets, your sections and elevations are going to be a mess to fix. On the flip side, if you model things accurately—with proper wall types, floor assemblies, and carefully placed reference levels—you’ll end up with cleaner, more automated drawings and way less busywork.
Always start your project by setting up levels and grids. These don’t just keep your model on track spatially—they also control where your views land and how they align on your sheets. Use Revit’s parametric tools (tags, keynotes, schedules, all that good stuff) to pull info straight from your modeled elements. That way, if you update a door or window, that change updates everywhere it shows up, without you having to chase it around manually.
It’s tempting to throw in detail lines or filled regions for a quick fix, especially when you’re trying to get a drawing out the door, but try not to lean on them too much. Instead, go the extra mile to create detail components and annotation families that you can actually reuse and customize. It might take a bit more work upfront, but you’ll see the payoff later when things stay consistent and flexible, no matter how many revisions you go through. The whole point is to build a drawing set that can roll with the punches, not buckle under change.
And as you’re modeling, always keep the end reader in mind. Set up your view crops and scales deliberately so that every sheet communicates clearly. Use view templates to make sure all similar views have matching appearance and annotation settings. Little details like these build a level of polish into your set that saves time, reduces errors, and makes it much easier for someone else (or future you) to pick up where you left off.
Quality Control and Iterative Refinement
Even with the best plans, no drawing set comes out perfect on the first try (and if anyone tells you otherwise, they’re probably glossing over a few truths). Quality control isn’t a box you check once—it’s an ongoing habit. Make a point of regularly reviewing your sheets for clarity, completeness, and accuracy. Lean on Revit’s built-in tools like interference checks, comprehensive sheet lists, and view filters to catch slip-ups before you print. And don’t be shy about getting a second set of eyes on your work. Peer reviews and consultant markups often catch things you’re too close to see after staring at the same model for days.
Be ready to make changes as you go. As your design matures, you’ll probably need new sheets or details, and some you thought were essential might end up getting cut. Don’t hesitate to reorganize your sheets or rename views if it helps you keep things clear. Revit is flexible enough to let you pivot mid-stream, as long as your original setup is strong enough to handle some shuffling without unraveling.
One last habit that pays off big time: archive your milestones. Use Revit’s revision and issue tracking tools to document changes along the way, and make a habit of exporting PDFs or taking model snapshots at each major phase. Not only does this create a project history in case there’s ever a dispute over scope or intent, but it also gives you a library of real-world drawing sets you can look back on or use as inspiration for future projects. Sometimes the best resource is your own past work.
If you approach your first Revit drawing set as both a technical process and a way to communicate, you’ll end up with stronger documents—and, honestly, more confidence in your BIM skills. The systems and habits you put in place now will become second nature, and they’ll serve you well as you tackle bigger projects and take on more responsibility down the road.