





From Model to Masterpiece: Your Practical Guide to Drawing Construction Documents in Revit

Why Revit Changes the Game for Construction Documentation
If you’ve ever found yourself buried beneath a mountain of printed plans or squinting at endless CAD revisions late into the night, you already know how tricky—and sometimes downright draining—construction documentation can be. That’s where Revit comes into play. This isn’t just another software; it’s a Building Information Modeling (BIM) powerhouse that has truly reshaped the way architects and engineers draw, coordinate, and deliver construction documents. In this article, I’ll walk you through what it’s really like to create construction documents in Revit, from the nuts-and-bolts workflows to the shift in mindset that the software demands. I’ll even sprinkle in a few hard-earned lessons that don’t always make it into those “getting started” tutorials.
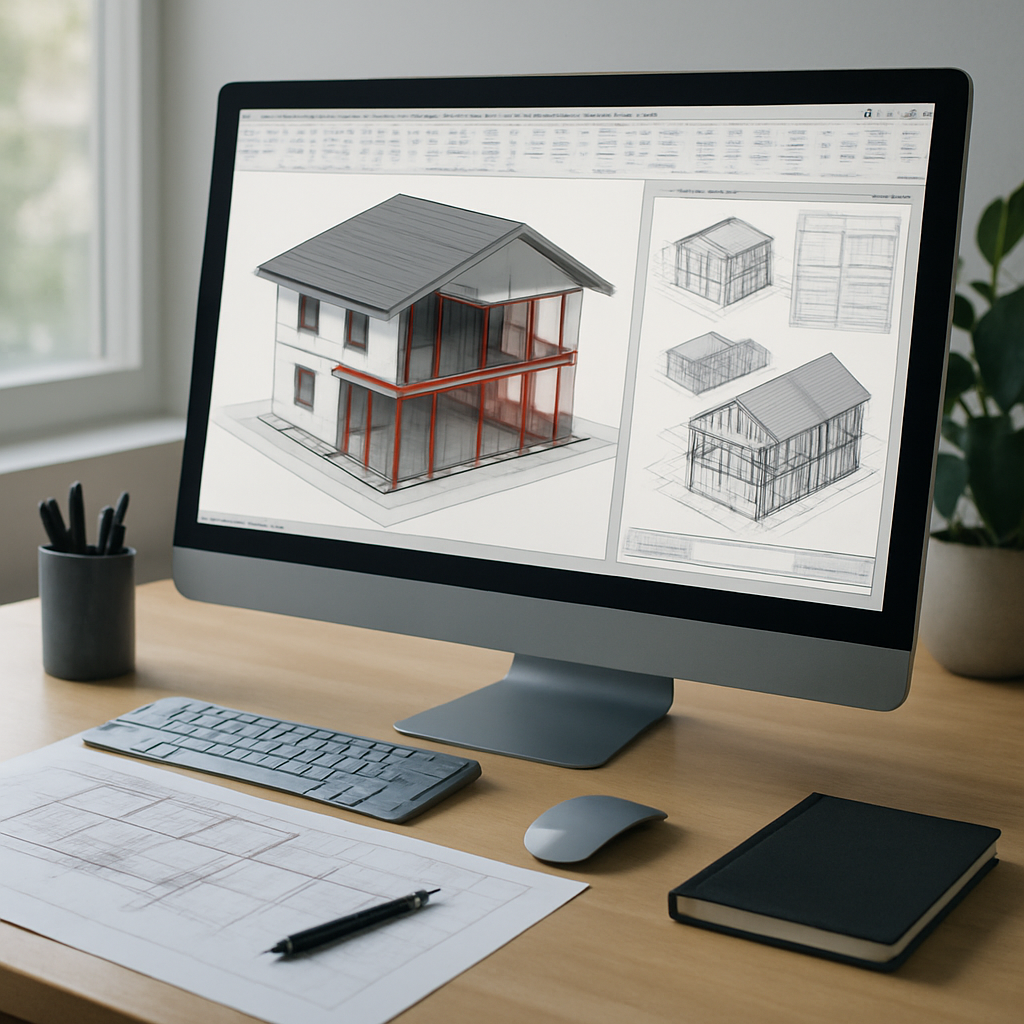
Revit doesn’t just rehash the usual 2D drafting approach—it works on a smart 3D model. So, when you drop in a wall, for example, you’re not just sketching a line; you’re defining a wall with real data and attributes attached. This might sound like a subtle shift, but it changes everything. As you model, you’re quietly assembling the backbone of your construction documents at the same time. It’s a more interconnected process, and yes, it asks a bit more of you up front. But trust me, the payoff is worth it: tighter coordination, fewer mistakes, and a heck of a lot less grunt work when you need to make updates. These qualities aren’t just nice to have—they’re essential if you want to thrive in the highly competitive world of design and construction today.
One thing I see beginners overlook all the time: planning. In the past, you might have grabbed your sketchbook and started doodling a plan on a napkin. In Revit, though, you really need to step back and look at the whole project from above. What needs to be documented? What views and details will you actually need? This is the shift from “just drawing” to “strategic thinking”—and it’s not optional. The folks who do the heavy thinking early on are rewarded in Revit. Those who try to cobble things together at the last minute? Not so much.
If you’re just dipping your toes into Revit, or you’re making the leap from CAD, get ready for a bit of a paradigm shift. Let’s take a closer look at the essentials, and I’ll share some of those less-talked-about strategies that can really save your bacon down the road.
The Anatomy of Construction Documents in Revit
In Revit, construction documents aren’t just a random pile of drawings—they’re the carefully organized output of your digital building model, ready to guide contractors and keep permitting authorities happy. At the heart of it all are plans, sections, elevations, details, schedules, and legends. In Revit-speak, each of these is created as a View. But here’s the cool part: these views aren’t static. They’re “live”—direct windows into your model. Change something in 3D, and that tweak ripples through every relevant view instantly. It’s a total game changer when it comes to cutting down on coordination problems.
This is also where many folks hit their first bump. Not all views are created equal. You might have five different plan views—maybe at different scales, for different disciplines, or for different phases of the project—and each one needs its own visibility tweaks and annotation styles. That’s where view templates and filters come into play. If you learn how to use these early on, you’ll save yourself from endless repetitive adjustments. Think of view templates as the wardrobe for your drawings—you can standardize everything from line thickness to what categories show up. It’s tempting to skip this step and just get started, but investing a bit of time up front to set up high-quality templates pays off in a big way. Your future self will thank you.
Let’s talk about sheets, too. These are the digital version of the old-fashioned drawing board. You drag and drop your views onto sheets, arrange them, and add those all-important notes and symbols. It feels intuitive, but the real magic is in how you organize and number these sheets. Revit lets you automate title blocks, revision tables, and drawing lists—so no more painstaking manual cross-checks like in CAD. If you’ve ever tried to coordinate 25 separate title blocks by hand, you’ll quickly appreciate Revit’s database smarts. Sheet updates and cross-references actually make sense—no more last-minute, frantic fixes.
One word of caution: since your drawings are so tightly tied to the model, any messiness in your modeling will show up in your documents. It’s tempting to get lazy and patch things with 2D lines or masking regions, especially when you’re under a deadline. Don’t do it! These “quick fixes” almost always unravel during revisions and can undo all the efficiencies Revit brings to the table. Take the time to model cleanly and with intent. Your sheets—and your sanity—will be better for it.
Essential Tools and Workflows for Drawing in Revit
To really get construction documentation humming in Revit, you’ll want to master a handful of essential tools and workflows. We’re not just talking about clicking buttons—you’re building the foundation of your entire documentation process.
Let’s start with levels and grids. Levels are like the altitude markers for your project—they define floors, roofs, and any key vertical height. Grids, on the other hand, set out the main structural skeleton. Place these right at the beginning, because everything else—walls, columns, stairs—will key off them. When you set your levels and grids correctly from the get-go, your plans, sections, and elevations all snap into harmony. It’s a huge time-saver that will help you avoid piles of rework down the line.
Another area you’ll want to get cozy with: view control. Every view in Revit has something called a View Range—basically, it tells Revit what “slice” of the model to show. If you’ve ever wondered why that door or wall keeps vanishing from your plan, chances are the view range is the culprit. Learn to set and adjust view ranges, so your drawings always display the information you want—and nothing you don’t.
Annotations in Revit have their own quirks. Tags, dimensions, and text notes are all linked to actual model elements. That means if you shift a wall, your dimension updates automatically—super handy, but only if you’re using Revit’s annotation families properly. Avoid the rookie move of exploding tags or replacing them with simple lines and text. Instead, invest a little time in tweaking and customizing your annotation families to fit your office’s style. It pays off every time a client changes their mind and you need to update the model—your annotations will keep up without you having to redraw everything.
Don’t underestimate the importance of worksharing, even for smaller teams. Revit’s central and local file system lets multiple people work on a project at the same time, without accidentally overwriting each other’s work. The setup might feel a bit intimidating at first, but for any team project, it’s absolutely crucial. Set some ground rules up front—agree on standards for modeling, who “owns” what elements, and how you’ll name things. When the team is coordinated, it feels almost magical. When they’re not, well… let’s just say chaos isn’t fun for anyone.
Common Pitfalls (and How to Avoid Them)
Even with the best tools and intentions, everyone slips up sometimes—especially when you’re new to producing construction documents in Revit. Here are some classic pitfalls I see all the time, along with a few tips to help you steer clear of trouble:
- Over-modeling: It’s so tempting to model every last nut and bolt in 3D, but honestly, you don’t need (and probably shouldn’t) go that far. Focus your energy on what really matters for coordination and documentation. Use 2D details for the rest—your computer (and your deadlines) will thank you.
- Underusing templates: Skipping the setup of view, sheet, and annotation templates is a common rookie move, but it leads to inconsistent drawings and wasted time. Templates are like autopilot for your standards—set them up once and let them do the heavy lifting.
- Messy project browser: As your project grows, the project browser can become a frustrating maze if you don’t organize it. Develop a logical system for naming and sorting your views and sheets from the very beginning. Future you—and anyone else working on the project—will appreciate it.
- Poor consultant coordination: If you’re trading models with structural, MEP, or other consultants, make sure you agree on file versions, shared coordinates, and worksets early in the game. A mismatch here can create major headaches that are tough to untangle later.
- Skipping quality control: It’s easy to let quality slide when you’re rushing to meet a deadline, but regular reviews of your drawings are essential. Check for missing tags, annotation errors, and visibility issues. Try to carve out time for peer reviews before you send anything out—you’ll catch mistakes while they’re still easy to fix.
If you want a practical tip that’s saved me more than once: build yourself a documentation checklist. Include reminders to verify sheet numbering, update revision clouds, make sure all the right tags are visible, and double-check your schedules. Over time, this checklist becomes your secret weapon against last-minute blunders.
Fresh Insights for Getting the Most from Revit Documentation
Most guides out there cover the technical steps, but let’s take it a little further. Here are a few strategies that I’ve found can really elevate your Revit documentation from “good enough” to “exceptional.”
First off, really lean into Revit’s parametric power. For example, when you’re creating wall sections or details, use parametric detail components that automatically adjust as your model changes. This keeps your details consistent across the board—so if you change a wall type, the related details update, too. And don’t forget about keynotes and material tags that pull information straight from the model’s database. That way, your notes are always in sync with what’s actually been designed—no more embarrassing mismatches.
Another tool that doesn’t get enough attention: sheet set management. Beyond just tossing views onto sheets, use Revit’s built-in tools for revision tracking and issue history to keep a clean, transparent record of every change. It’s not just about covering your bases—this kind of documentation makes life easier for clients and contractors, too.
Don’t be afraid to tailor your workflow to fit your needs. If you notice yourself making the same tweaks to views or annotations over and over, try building a set of custom families or even dabbling with Dynamo scripts to handle repetitive tasks. Sure, it takes some extra effort up front, but those little investments can save you hours—if not days—on future projects.
And here’s something people often forget: construction documents aren’t just for contractors. They’re a communication tool for your entire project team—consultants, clients, even your own coworkers. Make good use of Revit’s phasing and design options features so it’s crystal clear what’s existing, what’s new, and what’s being demolished. When you go beyond just “checking the boxes,” you show your clients and collaborators that you’re thorough, thoughtful, and truly invested in the success of the project.