





Mastering Levels and Grids in Revit: A Beginner’s Guide to Building a Solid Foundation

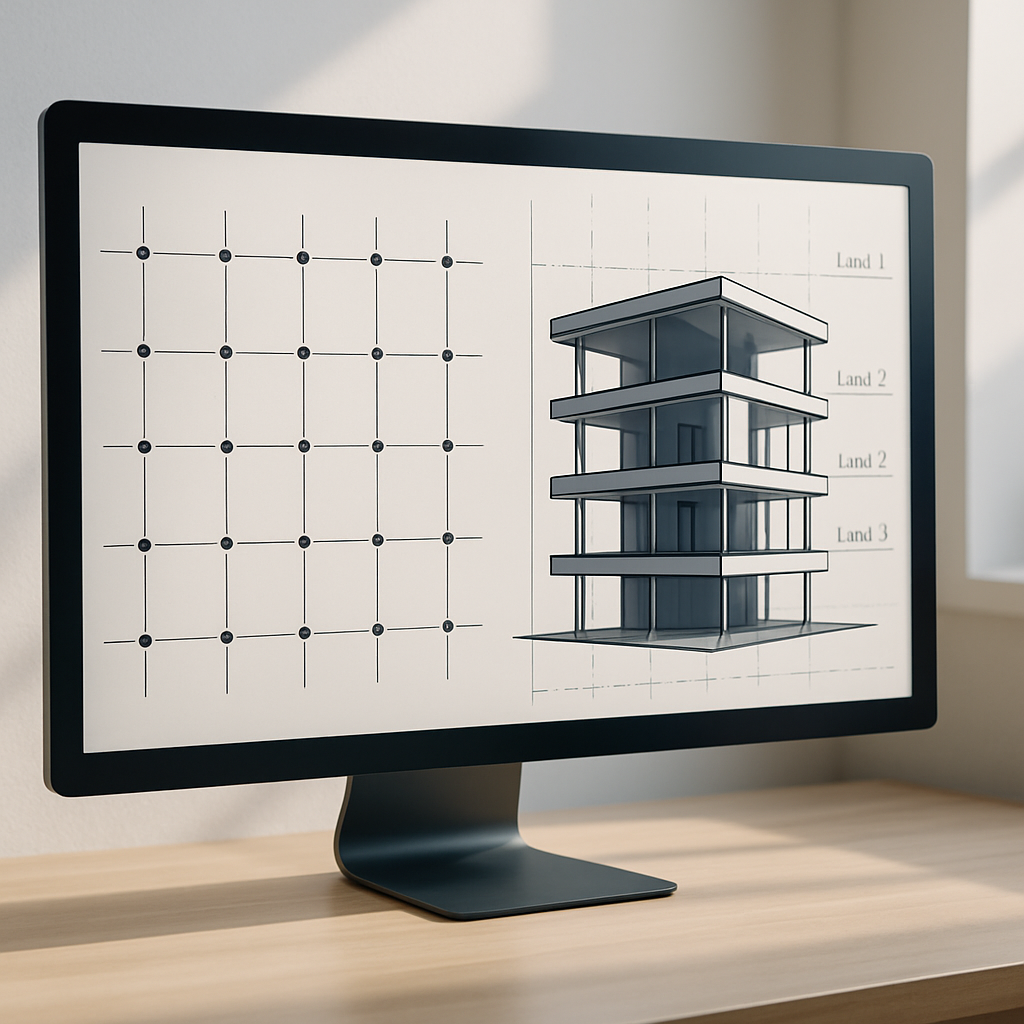
Why Levels and Grids Matter: Laying the Groundwork for Success in Revit
When you crack open a brand new Revit project, the first things you’ll bump into—usually well before you ever drop in a wall, door, or window—are levels and grids. On the surface, these lines probably seem pretty ordinary, even a bit boring. But if you’re aiming to actually succeed in Revit (and not just muddle through), learning how to work smartly with levels and grids isn’t optional—it’s essential. Picture them as the project’s skeleton: every single piece of geometry you create will hang, align, or snap back to these bones. Nail your setup now, and you’ll save yourself endless headaches with errors, coordination snags, and late-stage changes. Skip it, and you’ll feel that pain later, guaranteed.
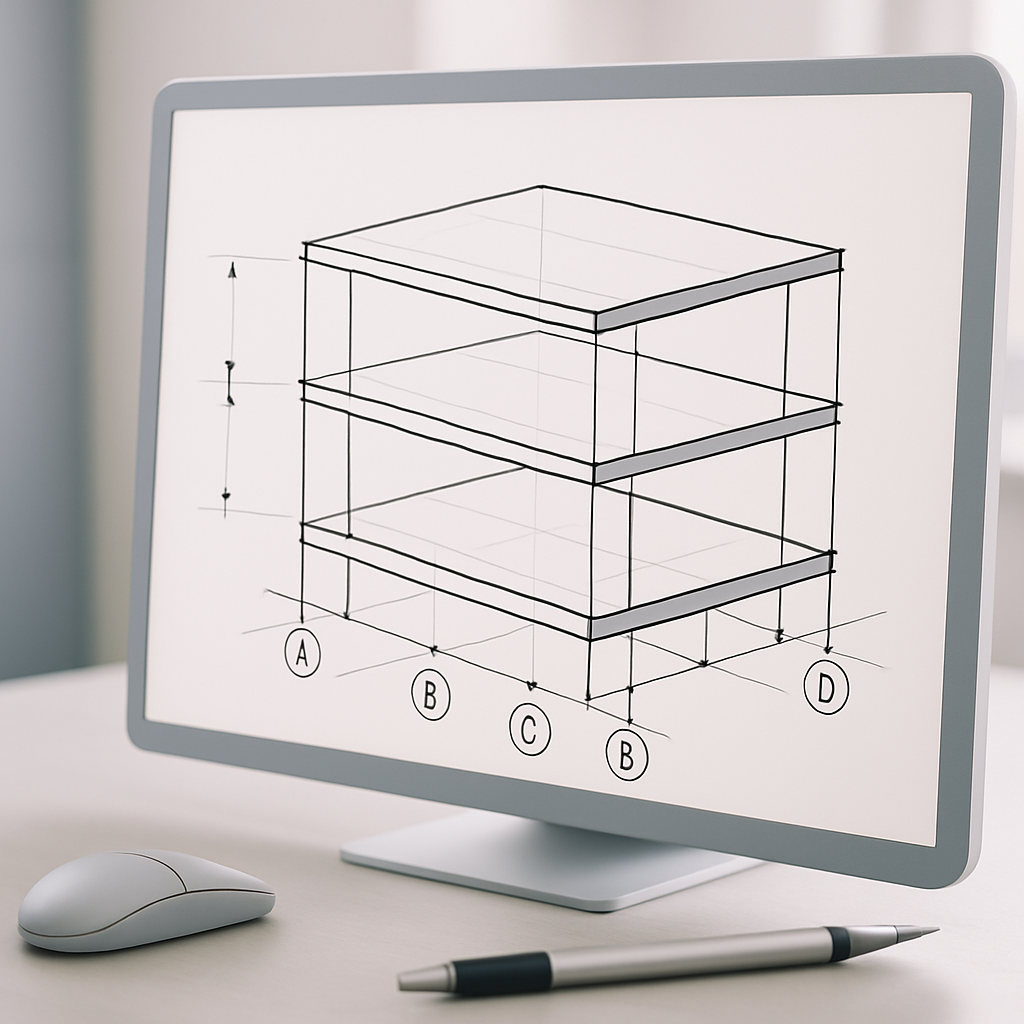
But here’s the thing: using levels and grids isn’t only about getting your floor plans and elevations to magically show up. These are the backbone of how teams collaborate, how accurate your model is, and even how much grunt work you can automate inside Revit. This holds true whether you’re tackling a cozy craftsman house or overseeing a mega-hospital that’s practically a small city. When you take the time to do this step well, the whole process just flows better. Cut corners, and you’re in for some real frustration down the line. In this article, I’ll break down not just how to create and handle levels and grids, but also why the details matter. Expect practical advice, a few time-saving tips, and a look at the decisions that separate so-so models from the ones teams actually enjoy working with.
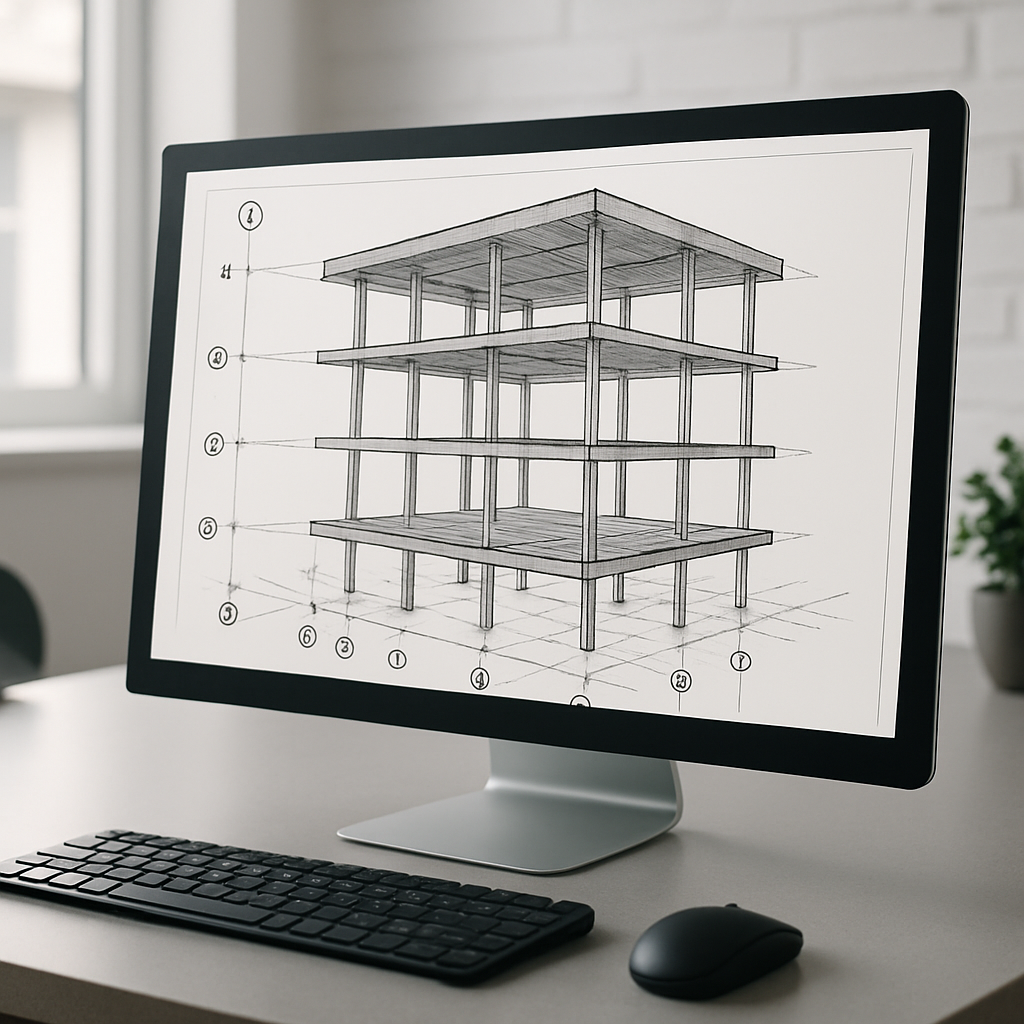
Getting Started: The Basics of Creating Levels and Grids in Revit
Let’s start at the beginning. In Revit, levels are basically horizontal reference planes—think main floors, rooftops, or even any special height you need to track. Grids are the vertical planes, and they’re usually your go-to for lining up columns or keeping your structural layout in check. Typically, you’ll add levels in an elevation or section view. Just grab the Level tool, sketch your line at the right height, and Revit will even generate the corresponding floor plan for you (assuming you want it to). Grids, on the other hand, are usually created in a plan view; just use the Grid tool and stretch those guides across your building’s footprint to set up your primary axes.
You’ll find both tools in the Architecture or Structure tabs. When you’re placing levels, you can use the Pick Lines feature to keep your spacing consistent (which is a lifesaver if you’re working with regular floor heights), or you can just draw them freehand if you prefer. For grids, start with the Grid tool and drag them as far as you need. But here’s an underrated tip: take naming seriously, right from the start. By default, Revit uses numbers for grids and either numbers or names for levels, but don’t just go with whatever pops up. Come up with a clear, logical system before you get too far—otherwise, things get confusing fast. This isn’t just about being tidy; it’s about making sure everyone on your team, and every bit of automation you set up, stays on the same wavelength.
One thing lots of beginners miss: levels and grids are actual model elements, not just some 2D annotation you ignore later. They physically cut through your model in 3D, control where you can build your floors, and have a direct impact on how sections, elevations, and even views are generated. So don’t treat them as an afterthought. Put in a few extra minutes now to place them carefully and accurately—your future self (and your teammates) will be grateful when you’re not chasing down weird alignment issues or missing views later on.
Best Practices: Precision, Coordination, and Setting Up for Success
Okay, so you’ve created your levels and grids. Now what? This is where the details separate the pros from the rookies. Getting proven results in Revit isn’t about rushing ahead—it’s about being deliberate with these foundational elements. Here are a few pointers to help you lay down a rock-solid framework:
- Start with what you know. Always set your ground or reference level based on the project’s real survey data or civil drawings, not just a guess. Once that’s locked in, pull in new levels at precise heights using temporary dimensions or type the value right into the properties palette. Trust me, this attention to detail makes your life much easier later.
- Align grids and levels before you build anything else. You’ll be tempted to jump straight into modeling walls or floors, but if you move grids or levels after the fact, you’re risking all sorts of broken constraints and unpredictable geometry shifts. Lay out the bones first, then flesh things out.
- Lock down those relationships. Use constraints or the align-and-lock method to anchor your grids and levels to important points (like property lines or a baseline). This is especially critical on big, multi-phase projects where you just know changes are coming down the pipe.
- Coordinate with linked models. Working on a multi-discipline team? Make sure your grids and levels line up across architectural, structural, and MEP files. Tools like Shared Coordinates or Copy/Monitor are your best friends for keeping everything in sync—and for avoiding the inevitable “why don’t our floors line up?” panic later on.
If there’s one major pitfall I see all the time, it’s not thinking ahead to future changes. Maybe you set all your levels only to discover you forgot to account for ceiling space or a big mechanical shaft, and now you have to redo everything. The fix? Spend a little time up front reviewing requirements and talking with your teammates. It’s a small investment now that saves a mountain of rework and troubleshooting later.
Advanced Insights: Customizing, Managing, and Troubleshooting Levels and Grids
As you get more comfortable in Revit, you’ll realize that levels and grids are more flexible than they seem at first glance. For one, customizing how they look can dramatically boost readability—something you’ll be thankful for when the drawing set gets crowded. Want to make main grids stand out from secondary axes? Or clearly show which levels are for mezzanines versus main floors? Tweak the Type Properties or duplicate types to adjust line styles, bubble heads, and symbols until things look just right for your project.
Managing a sea of levels and grids can get tricky, especially as your project grows. The project browser can quickly become a jungle of plan and section views. That’s where scope boxes come in handy: use them to limit grids and levels to just specific wings, towers, or sections of your building. This keeps your documentation clean, makes navigation less of a nightmare, and helps everyone know exactly what they’re looking at. And don’t forget: hiding a grid or level in one view doesn’t delete it from the model—just use the View/Hide options to fine-tune your sheets while still keeping critical info in the background where you need it.
On big jobs or consultant-heavy projects, you’re bound to run into the occasional misaligned or duplicate grid—especially after linking in outside models. The Copy/Monitor tool is a massive help here. It lets you track grids and levels from linked files, get notified when something moves, and even catch duplicates before they turn into bigger headaches. Sure, it’s an extra step, but skipping it can easily snowball into hours of untangling mis-coordinated models down the road.
If you’re working with a team, here’s an advanced trick: place your grids and levels on separate worksets. This lets you control who can edit them, when they’re visible, and can even help your project run a bit faster. In a multi-wing project (like a hospital with several buildings), you might assign each set of grids and levels to its own workset, so you don’t have to sift through everything at once. It’s a bit of upfront work, but it pays off once things get complicated.
Common Pitfalls and How to Avoid Them: Lessons from Real Projects
Even folks who’ve been around the Revit block a few times still trip up with levels and grids every so often. Here are a few “learned the hard way” lessons you can hopefully dodge:
A common headache is overlapping grids. It’s surprisingly easy to accidentally stack two grids almost right on top of each other, especially in a busy floor plan. Besides confusing you, these duplicates can throw off everyone else who touches the model. The fix is simple: zoom in and double-check as you place grids, and make it a habit to run through Revit’s Warnings dialog every so often to spot duplicates before they get out of hand.
Another trap? Messy naming conventions. If you start off labeling your grids with numbers, then randomly switch to letters, your schedules will end up all over the place and any automated tools you rely on might break. Decide early: maybe letters go horizontal, numbers go vertical (or vice versa), but just stick with your choice. It might seem like a small detail, but it’s one of those little things that really sets professional teams apart.
Perhaps the most risky mistake of all is moving grids or levels once you’ve started modeling. Yes, Revit is parametric and can handle a lot of changes, but shifting a level after the fact can send floors, walls, and even your annotations flying. If you absolutely must move something, take the time to review what’s going to happen, talk with your team, and—if it’s a major adjustment—use the Relocate Project tool to keep things together. The more methodical you are, the less cleanup you’ll have to do later.
And finally, don’t skimp on documentation. Add clear descriptions to your levels (e.g., “Ground Floor – Retail Lobby”) and reference grid lines in your detail views and notes. This isn’t just for the BIM nerds—everyone benefits, from the model manager to the folks actually building on site.
Building Confidence: Your First Steps Toward Revit Mastery
Getting the hang of levels and grids in Revit isn’t just about memorizing a list of steps—it’s about building a thoughtful, almost instinctive approach to how you organize your projects. These tools might look simple, but they have a massive effect on your workflow, your drawings, and even how others feel about jumping into your model. As you practice, ask yourself: Will these levels still make sense when we get to construction? Are the grids obvious and consistent for every team member? Am I really using Revit’s coordination and error-checking features to their fullest?
Don’t shy away from experimenting in a test project. Set up grids for a non-standard building—maybe a school with an odd-shaped gym, or a museum with a few funky wings—and pay attention to how naming and alignment affect your process. Flip between elevation and plan views to check if your levels are logical or if there are weird overlaps. Every time you work through these details, you’re sharpening skills that will pay off on real jobs. And when you land on a new team or tackle a big, complex build, your careful setup will quietly show everyone you know what you’re doing (even if nobody says it out loud).
Honestly, getting levels and grids right probably won’t get you a standing ovation in the next project meeting. Still, it’s one of those invisible wins that keeps everything running smoothly behind the scenes. When you’ve got a solid handle on these tools, you’re not just drawing lines—you’re building the foundation for an entire project to succeed. That’s when you know you’re truly becoming a Revit pro.