





Mastering Your First Construction Documents in Revit: A Complete Beginner’s Guide

Understanding the Role of Construction Documents in Revit
If you’re just dipping your toes into the world of Revit, the term “construction documents” might sound a little daunting. But here’s the thing—it’s not as mystifying as it appears. At its heart, a set of construction documents is simply a bundle of drawings and schedules designed to communicate your building’s design intent to contractors, consultants, and anyone else involved in bringing your project to life. What sets Revit apart from the old-school, paper-based or 2D CAD approaches is its reliance on Building Information Modeling (BIM), which genuinely transforms how these documents are created, coordinated, and maintained. Introduction to Drawing Construction Documents in Revit isn’t just about digital drafting; it’s about stepping into a dynamic, interconnected workflow that slashes errors, clarifies design, and keeps everything progressing smoothly from the first sketch right up to site handover.
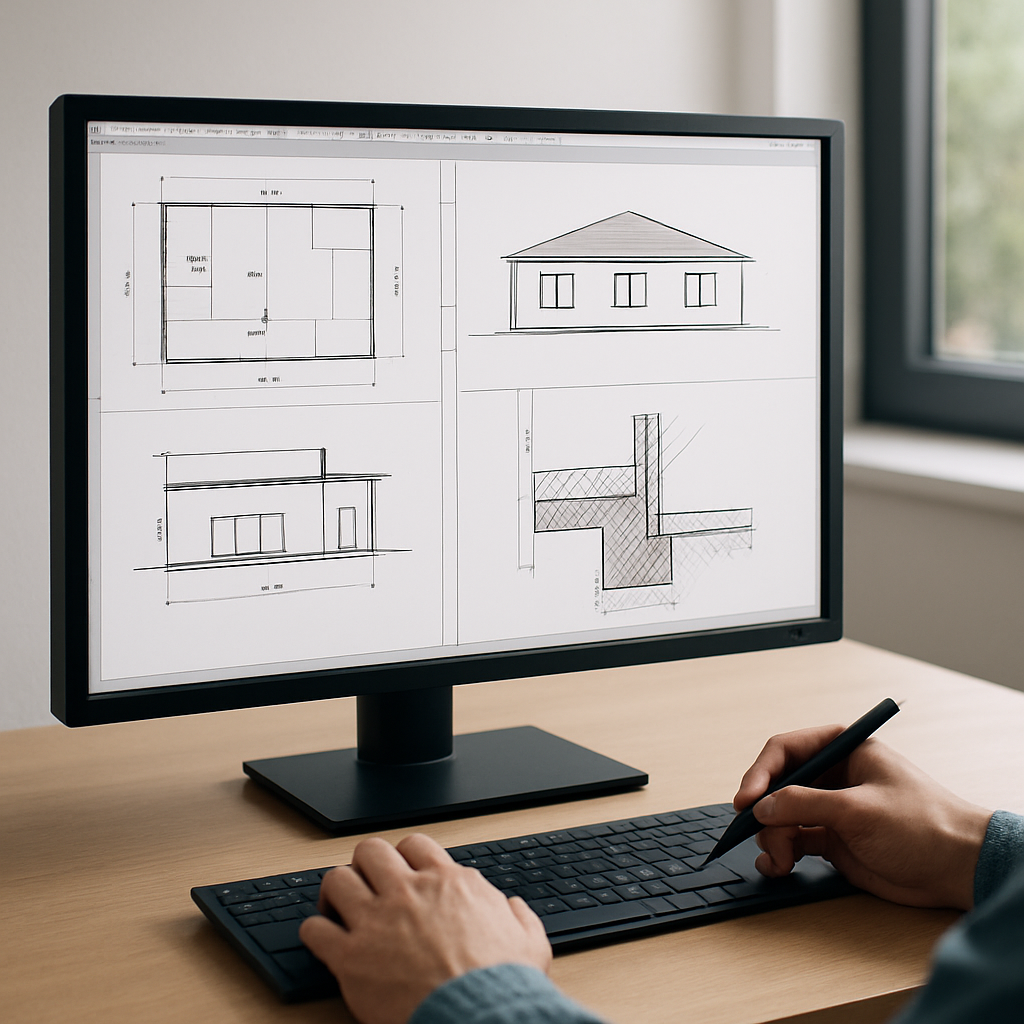
Think back to typical CAD workflows for a moment. Drawings there are static—if you move a door on one floor plan, it’s on you (and only you!) to hunt down every relevant elevation, section, and schedule to update them, too. Revit does things differently. Everything is linked. Change a wall in your model, and like magic, all related drawings—plans, elevations, even schedules—update automatically. This is both a blessing and a bit of a hurdle: while it saves a ton of time and minimizes coordination headaches, it does mean you have to get your head around how Revit generates and manages these drawings. Those who figure out this interconnectedness early on will find themselves ahead of the game, building actual smart, data-rich projects instead of just drawing lines on a screen.
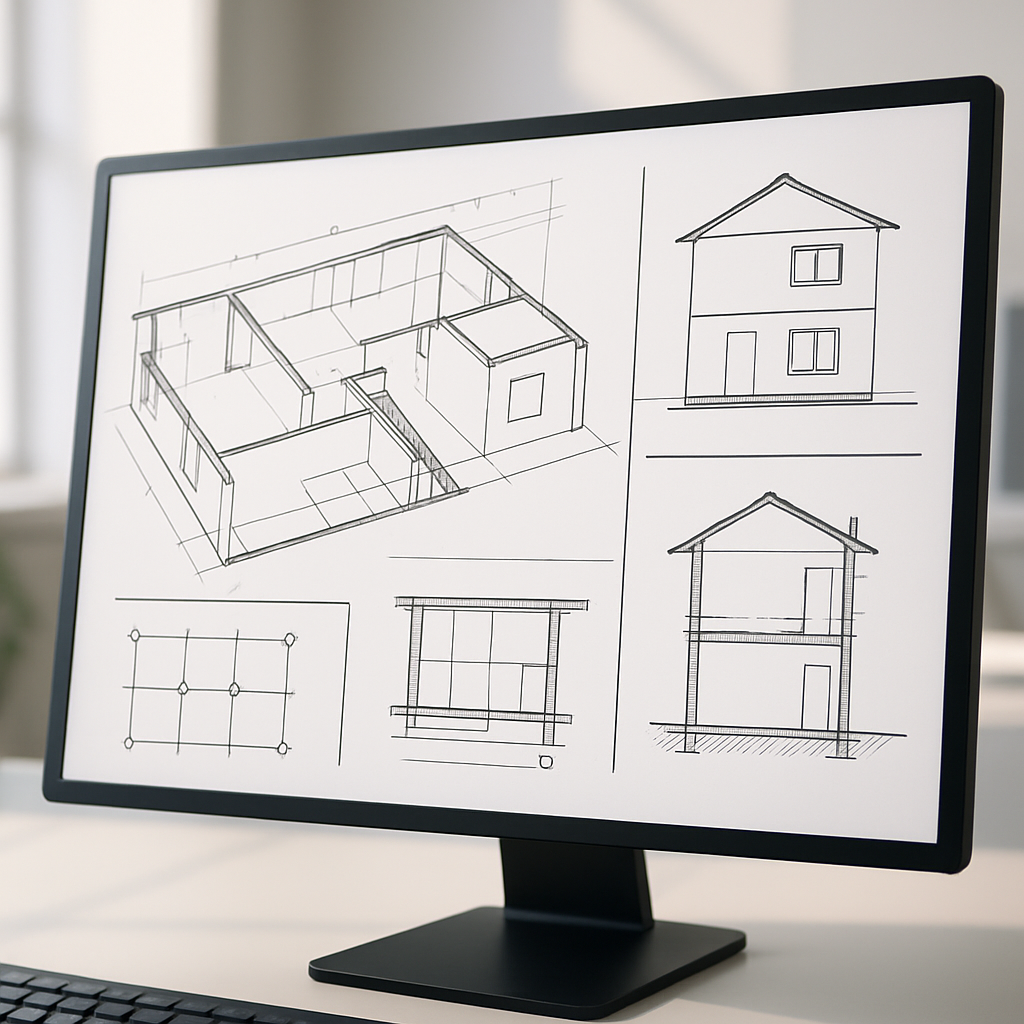
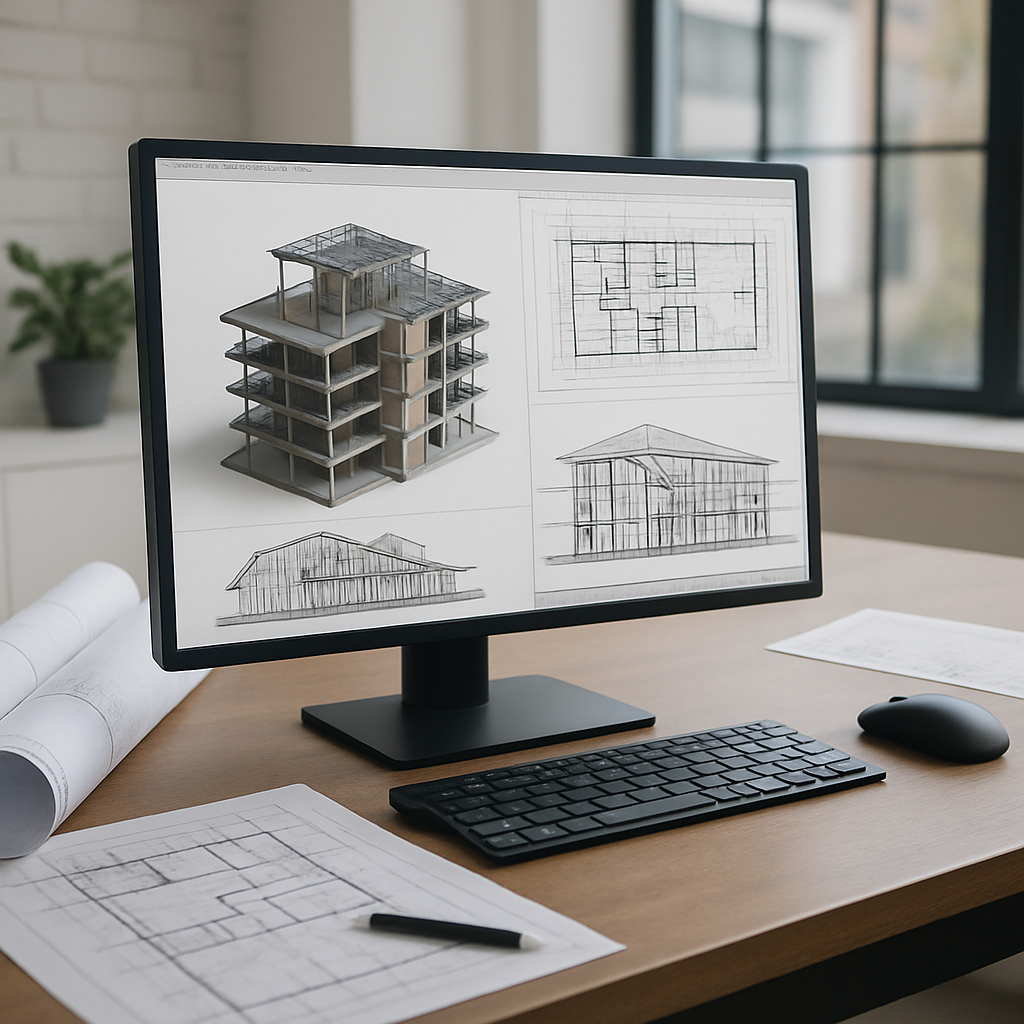
Revit’s construction documents can include floor plans, elevations, sections, details, schedules, and yes—even 3D views. Each one isn’t just a static picture; it’s a live window into your digital model, updating in real time as you make changes. This approach lets teams spot issues earlier, visualize tricky assemblies, and always work from a single, up-to-date source of truth. It’s a serious shift from the days of red pens and paper sheets—and ultimately, it leads to clearer communication and fewer costly blunders on site.
Another thing: Revit nudges you toward a more holistic way of thinking about documentation. Instead of separating your work into isolated drawing types, you start to see views, sheets, and schedules as different expressions of the same unified, underlying model. This is a leap for anyone coming from classic 2D drafting habits, but it’s an essential mindset shift. Embracing Revit’s integrated workflow means your documentation will not only be faster and more reliable, but also look and feel much more professional.
At the end of the day, understanding the real purpose of construction documents in Revit isn’t just about learning a piece of software. It’s about recognizing how powerful digital tools can amplify your design intent, foster better teamwork, and streamline every stage of your project. If you’re willing to climb the learning curve, you’ll soon discover the payback is far greater than the effort.
Setting Up Your Revit Project for Effective Documentation
Before you even think about placing your first drawing on a sheet, you need to set up your Revit project with care. Honestly, a well-thought-out project setup is what separates pain-free documentation from endless, hair-pulling troubleshooting. It’s easy to overlook these early steps—especially when you’re new—but seasoned Revit users know that a tidy, organized model is absolutely critical for producing professional construction drawings later down the line.
Let’s start with project templates. Creating or using a solid template is a game-changer. These templates come packed with pre-set view templates, sheet layouts, title blocks, annotation styles, and standardized families. Not only does this save you tons of time, but it also means everyone on your team is playing by the same rules. Plenty of design firms invest serious effort in fine-tuning their templates to match their branding and documentation preferences. If you’ve ever wondered why some firms’ drawings just look so “put together”—this is a big reason why.
Levels and grids are another cornerstone. These aren’t just lines on your screen—they’re the very framework your whole building hangs off. If you get levels misaligned or grids named inconsistently, you’ll find yourself wading through a sea of confusion every time you generate sections or elevations. Taking the time to place and label them correctly at the start will save you from a lot of frustrating rework later. Trust me, it’s worth the effort.
Organizing your views can easily spiral out of control, especially as your project balloons in size. Revit’s Project Browser can become a tangled mess unless you establish naming conventions and use filters from the get-go. Some teams even use prefixes like “W-” for working views or “S-” for sheet views to make things easy to spot at a glance. It might sound a bit obsessive, but it genuinely keeps things running smoothly and drastically lowers the chance of publishing an incomplete or outdated drawing by mistake.
Don’t forget about reference planes, scope boxes, and view templates—they’re your best friends, even if they don’t seem glamorous. Reference planes make it easy to align elements with precision, while scope boxes help you control the extents of your views (so your sheets look consistent and tidy). View templates are lifesavers, too—they standardize things like line weights, colors, and detail levels, ensuring that your drawings share a consistent, professional appearance. Skipping these tools might feel like a shortcut, but you’ll pay for it with messy, inconsistent documents later on. Start using them early and often for the best results.
Creating and Managing Views for Construction Drawings
Once your project setup is squared away, it’s time to build out the views that will make up your construction document set. Now, in Revit, views aren’t just flat snapshots—they’re smart, live windows into your model, each tailored for a specific purpose. Knowing how to create, tweak, and manage these views is absolutely essential if you want to produce clear and accurate construction documentation.
Let’s talk plan views first. These are usually generated automatically based on your levels, but each plan serves a different function—think floor plans, reflected ceiling plans, and structural plans. Each type has its own settings and annotation needs. A rookie mistake is to duplicate views without thinking through their purpose. More experienced Revit users, on the other hand, know to duplicate with or without detailing, use dependent views for sprawling floor plates, and apply templates strategically to save heaps of time later. It’s all about working smarter, not harder.
When it comes to sections and elevations, you’ll place markers right into the model. These views are incredibly powerful because they remain tied directly to the geometry they cut through. Move a wall or adjust a window, and every section or elevation updates instantly. For construction documents, clarity is king. Adjusting your crop regions, hiding irrelevant categories, and dropping in callouts for areas that need more detail all go a long way toward making your drawings easy to read. In fact, sometimes what you leave out is just as important as what you show—cluttered views are a recipe for confusion, especially for folks new to Revit.
Details are a whole other beast. Revit gives you the ability to create detail views by referencing a portion of another view, then layering on 2D elements like detail lines, filled regions, or specialized components. While it’s tempting to model every nut and bolt in 3D, a lot of construction details are best handled as efficient 2D overlays. Knowing when to model and when to draft is a skill that develops with time. As a general rule, always aim for clarity and constructability—if it helps the builder understand what’s needed, you’re on the right track.
Schedules are where BIM really flexes its muscles. These aren’t just lists you type up—they’re tables that pull real-time data straight from your model. Want to know how many doors you’ve got, or which finishes go where? Schedules keep all of that coordinated and up to date. The earlier you set them up, the more you’ll benefit—discrepancies that usually go unnoticed until late in the process get flagged right away. As your project evolves, schedules become a living snapshot of vital information, making procurement and construction planning a breeze.
If you really want your documents to shine, get comfortable with Revit’s various view management tools—filters, templates, crop regions, annotation settings, and so on. When used well, they help you produce documentation that’s not just pretty, but also crystal-clear in conveying your design intent. The upshot? Drawings that earn the respect of both your design review team and the folks actually building the project—meaning less confusion, fewer mistakes, and smoother job sites.
Placing, Annotating, and Coordinating Sheets
With your views ready to go, the real fun begins: assembling them onto sheets. This is what the contractor or consultant will ultimately see and use, so it’s worth doing right. Revit makes it easy to drag and drop views onto your sheets (thanks, preformatted title blocks!), but there’s more to a polished set of documents than just a neat arrangement of rectangles.
Creating great sheets is all about balancing detail with clarity. Cramming too many views or annotations onto a single sheet can overwhelm anyone trying to read it, but skimping on information is just as risky. The trick is to guide the reader’s eye using hierarchy—putting the most important plans front and center, using consistent scales, and lining up titles and viewports for a clean, professional look. Thankfully, Revit’s alignment tools, grids, and snap features have your back here, so you can spend more time thinking about design and less time fiddling with layouts.
When it comes to annotation, this is where Revit’s intelligence really pays off. Tags, keynotes, and symbols aren’t just dumb labels—they’re linked right to your model. Change a door type in the model, and every related tag and schedule update automatically. This eliminates so many of the manual coordination errors that haunted CAD-based workflows. The result? Your annotations stay accurate, consistent, and up to date without constant cross-checking, freeing you to focus on the bigger picture.
Coordinating sheets isn’t just about looks, either. Revit lets you build out sheet lists, revision schedules, and custom parameters to track when sheets are issued or who’s approved them. On bigger jobs, managing the sheet set practically becomes a project in itself! Using logical naming (and sometimes color-coding or filtering for good measure) keeps your documentation organized and easy to audit. Many teams also create internal checklists and use QA/QC processes to make sure every sheet meets the required standards before it goes out the door.
The last piece of the puzzle is publishing and exporting your finished documents. Revit gives you lots of flexibility: print straight to PDF, export to DWG for consultants, or even share 3D views for coordination meetings. It’s important to understand these workflows so you don’t get caught scrambling at the last minute, especially when deadlines are looming. Taking the time upfront to set up proper view templates and sheet sizes is a huge help—future you will thank you when it’s time to deliver.
Best Practices and Common Pitfalls in Revit Documentation
Like any powerful tool, getting great results from Revit is as much about dodging common mistakes as it is about sticking to best practices. Beginners, in particular, can fall into a few classic traps—over-modeling, inconsistent annotation, and neglecting project organization, just to name a few. Knowing what these pitfalls look like, and how to sidestep them, is crucial if you want your construction documents to be rock solid.
One of the easiest missteps is over-modeling—trying to build every tiny detail in 3D. While it’s tempting (Revit makes it so easy!), not every nut and bolt needs a digital twin. Overdoing it leads to bloated files, grinds your computer’s performance to a crawl, and makes coordination with consultants a headache. Instead, focus on modeling only what’s essential, and use 2D detailing for the rest. This keeps your model lean, your workflow efficient, and your drawings focused on what actually matters in the field.
Consistency in annotation can’t be overstated. Relying on office-standard families for tags, keynotes, and symbols ensures that every page “speaks” the same visual language. It’s surprisingly easy for new users to mix and match styles, which can quickly turn your documents into a confusing mess. Setting clear standards and sticking to them—through templates and curated family libraries—avoids these headaches before they start.
Good project organization is your secret weapon. Naming conventions for views, sheets, and families make it a breeze to find what you’re looking for and help your team work together smoothly. On big teams, using worksets and view filters lets people divide and conquer, while reducing the risk of accidental edits. And don’t overlook regular model maintenance: purging unused elements, cleaning up errors, and checking warnings keeps your project running smoothly as it grows.
Of course, no technology can replace good old-fashioned communication. Even with a flawless model, you’ll need regular team meetings, check-ins on documentation standards, and open lines with your consultants to make sure your construction documents truly reflect the latest design intent. A little extra coordination effort here pays off in the field with fewer surprises and change orders.
By embracing these best practices—and keeping an eye out for the classic traps—new Revit users can quickly build confidence and produce documentation that stands out. Sure, there’s a learning curve, and you’ll probably hit a few bumps along the way. But stick with it, and you’ll end up creating construction documents that are not just accurate, but clear, coordinated, and respected by everyone on the project team. The effort is absolutely worth the results.