





How to Start a Revit Drawing Set: A Practical Guide to Clarity and Collaboration

Understanding the Purpose of a Revit Drawing Set
Before you fire up Autodesk Revit and get lost in the fun of building your digital model, it’s worth taking a moment to step back and ask yourself: what’s the real point of this drawing set? In the world of architecture and engineering, a Revit drawing set isn’t just a pile of printed sheets or digital files. Think of it more like a living, breathing document—one that serves as the main channel for communicating your design vision, construction instructions, and coordination details to everyone involved in the project. With the shift from old-school CAD methods to BIM-driven workflows, the nature of a drawing set has changed dramatically. In Revit, it’s not static—it’s packed with data and, if you set things up the right way, it can stay accurate and current as your project evolves.

One of the most common mistakes beginners make is treating Revit like it’s just a fancy version of a drafting board. They dive straight into drawing, skipping any real planning, and end up with a mish-mash of sheets, duplicated effort, and endless coordination headaches. Trust me, there’s a better way. Start by getting crystal clear on what your project actually needs and what each sheet is supposed to accomplish. Who’s going to use each sheet? What specific details are non-negotiable to include? How are you going to manage and track updates as things change? These aren’t just abstract questions—they shape the bones of your drawing set and set you up for smoother sailing and stronger teamwork down the line.
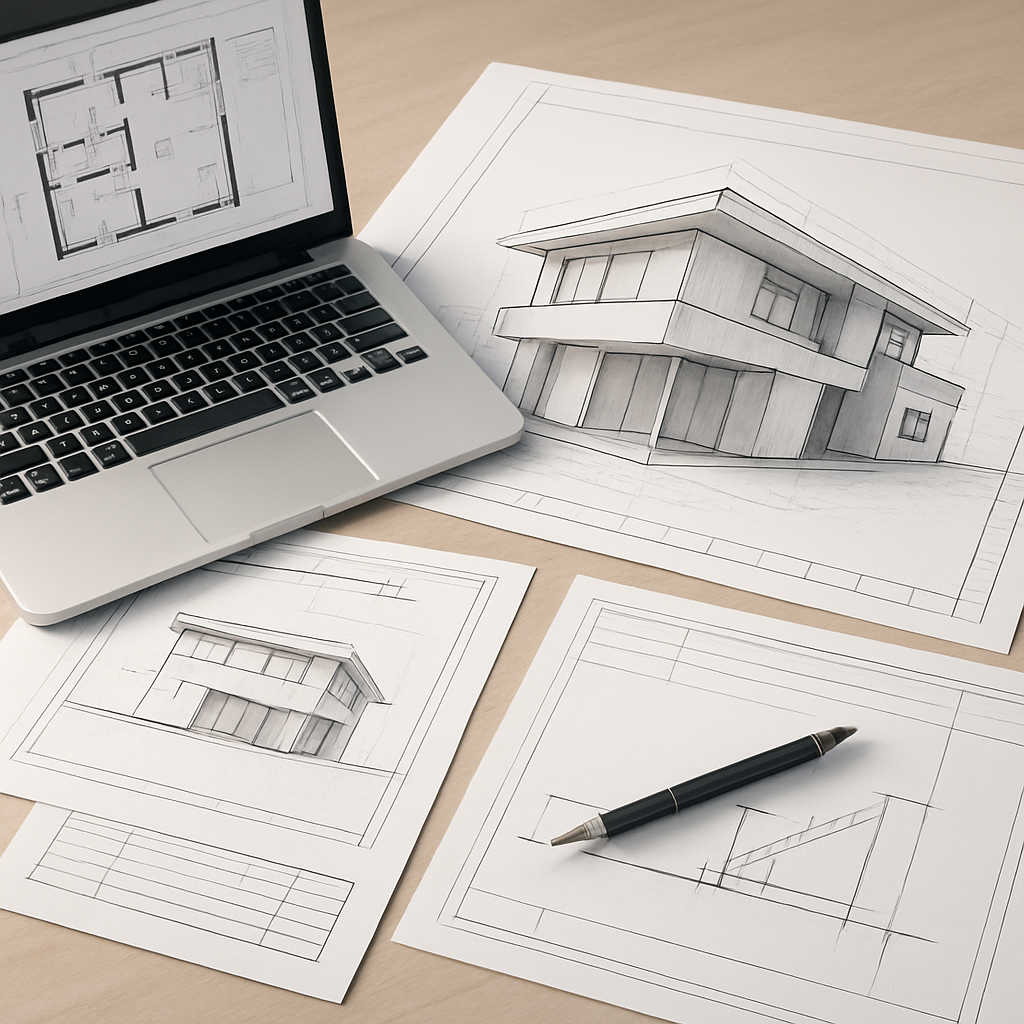
For example, picture a mid-sized commercial building project. The architect might need to show broad design ideas to a client early on, while later the contractor is focused on the nuts-and-bolts construction documents. If you build a smart, flexible Revit drawing set from the start—with the right views, up-to-date schedules, and intelligent references—you’ll satisfy both needs. The real win? Everyone stays on the same page, you reduce costly missteps, and your whole process stays a lot less stressful.
Strategizing Your Project Setup for Long-Term Flexibility
Let’s be honest: setting up a Revit project isn’t as simple as clicking ‘New’ and picking whatever template catches your eye. The decisions you make before you even start modeling can either save you a world of trouble later or box you into a corner with rigid, hard-to-fix problems. A rookie error is to breeze past the project templates or settle for the default ones Revit provides. Sure, those templates exist, but they almost never match the way your firm—or your client—likes to do things. It’s well worth your time to dig into title blocks, view templates, annotation styles, and even the way you name your sheets before you model so much as a single wall.
One trick that consistently pays off is to build a project-specific template or, at the very least, clone your firm’s go-to template and tweak it for your current job. This small investment can save you hours of tweaking down the road and keeps your set looking sharp and consistent. Take, for instance, a residential job: you might need a totally different way of numbering sheets than you would for a hospital, where every single sheet might need special key plans and legends. Getting these details baked into your template makes growing your set later on way less painful.
Can’t forget about file organization, either. It doesn’t take long for a Revit project—especially one with a bigger team—to spiral into chaos. Set up a clear, logical folder tree and pick a file-naming system everyone can stick to so you aren’t hunting for the latest version or, worse, accidentally overwriting someone else’s work. For teams working together, figure out up front if you need to use worksharing or linked models. Setting up worksets and links early means fewer crossed wires later, letting architects, engineers, and specialists all do their thing without tripping over each other.
Building a Drawing Set: Views, Sheets, and Smart Referencing
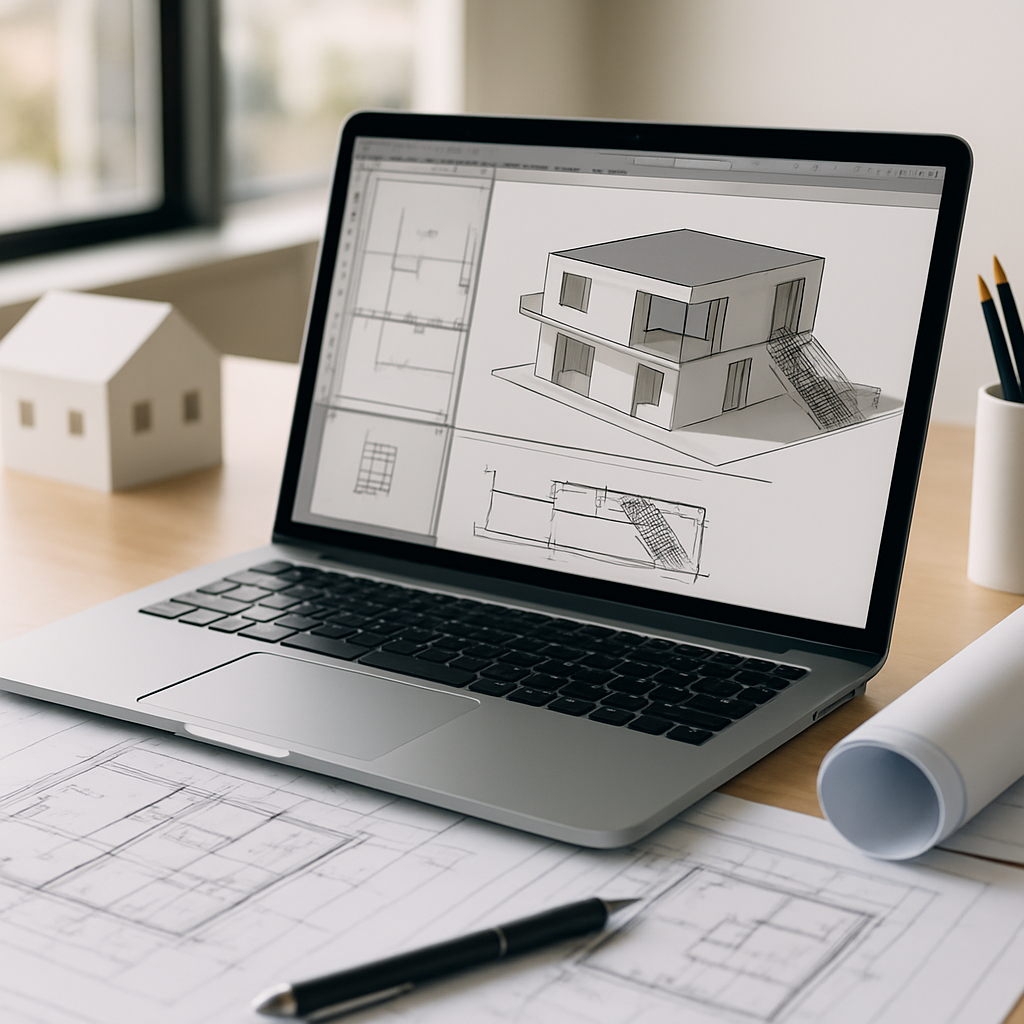
Unlike the old days, where every drawing was a one-off, Revit lets you pull together a coordinated, streamlined drawing set by organizing everything around views and sheets. The process really starts in the Project Browser, where you generate your core floor plans, elevations, sections, and detail views. Each one can be fine-tuned with view templates—setting things like scale, visibility, and annotation style—so the whole set looks unified and professional, not like a patchwork quilt.
When you’re getting started, it’s always tempting to slap everything onto sheets right away. But here’s a better approach: take the time to flesh out your key views before you start laying out sheets. Make sure your levels, grids, and major building pieces line up, and double-check that your information flows logically from big-picture plans down to close-up details. This is also the perfect stage to create placeholder sheets—think of them as your project’s roadmap. They give the team a bird’s-eye view of what’s planned and make it obvious which pieces still need to be filled in.
Now, one of the coolest—and most underrated—features in Revit is smart referencing. When you drop in callouts, section markers, or detail bubbles, Revit automatically links them to the right views. That means if you move a view to another sheet, all those references update themselves. On a big project, where sheets get shuffled constantly, this saves you from a mountain of manual edits and cuts down on embarrassing cross-referencing mistakes. If you get comfortable with these tools early on, you’ll save yourself (and your teammates) a ton of headaches and rework later.
Another tip: don’t wait until the end to add schedules. Schedules are more than just quantity takeoffs—they can double as checklists or trackers for your project. For example, popping a door schedule onto a sheet early gives you a live snapshot of progress, highlighting missing info before it becomes a crisis. It’s a small move that can make a huge difference in catching issues before they snowball.
Managing Revisions and Issuance with Built-In Tools
Your drawing set is never really “done”—it evolves, sometimes daily. Changes happen for all sorts of reasons: a client requests tweaks, a consultant spots a conflict, or construction realities force a rethink. Revit comes with some surprisingly powerful revision tools, but you’d be amazed how often teams ignore them, falling back on old habits like hand-drawn clouds or clunky spreadsheets. If you want to keep things clear and organized, learning to use Revit’s revision system pays off big time.
The first step is to set up your revision numbering and issuance rules in the Sheet Issues/Revisions dialog. Decide if you’re using numbers, letters, or a mix, and sort out how you’ll distinguish between internal markups and official, client-facing issuances. When something changes, use revision clouds and tags right in the affected views—Revit will handle the rest by updating the revision schedule on your sheets. Not only does this document exactly what changed and where, but it also creates a handy audit trail. That kind of transparency is a lifesaver in coordination reviews and at project closeout.
If your project is going through multiple rounds—like permit, tender, and construction—it’s extra important to draw a bright line between drafts and “for record” drawings. Revit lets you officially ‘issue’ revisions, locking them into the sheet history so nothing gets overwritten by accident. This is especially crucial when several teams are involved, like architects working alongside engineers. Neglecting these tools can lead to a tangle of confusion, missed details, and even expensive errors; setting up a solid revision workflow from day one is one of those things you’ll be glad you did.
If you’re sharing a model among several people or disciplines, take a tip from the pros: pick one person to be the “gatekeeper” for revisions and always stick to a naming protocol when you issue sets. This cuts down on overlap and ensures everyone is always looking at the latest, approved set—no more guessing or chasing down rogue files.
Quality Control: Reviewing, Auditing, and Sharing the Drawing Set
Just because your drawing set is assembled doesn’t mean you can kick back and relax. Real quality control is what sets apart a solid, reliable Revit set from one that ends up causing more confusion than clarity. A thorough review process is essential, and it should include more than just one person’s cursory look. Start with a self-audit—use Revit’s built-in tools to scan for missing tags, repeated views, or incomplete schedules. Don’t overlook the Interference Check and Warnings features; while they’re intended for modeling, they often uncover documentation issues that would otherwise go unnoticed.
Equally important is a peer review. Encourage your coworkers to swap sheets and check each other’s work—not just for pretty graphics, but for things like correct references, tidy sheet organization, and an accurate revision history. Making a checklist helps keep everyone on the same page. Even in smaller offices where everyone wears multiple hats, having someone else give your set a once-over can catch issues you might have missed. In bigger firms, a BIM coordinator or quality manager usually takes charge, but regardless of company size, an extra set of eyes never hurts.
When it comes time to send your drawing set out—whether you’re exporting PDFs or sharing the actual Revit files—think about what the recipient really needs. General contractors, for example, often prefer PDFs with clickable links for jumping between sheets—a feature Revit can include if you set it up right. Consultants might ask for a current model export with all associated views and sheets intact. Anticipating these requests and setting up your export process ahead of time makes sure that what leaves your desk (or inbox) is straightforward and useful for whoever gets it next.
And finally, don’t forget to archive your drawing sets at key milestones. Archiving isn’t just about protecting yourself legally (although that’s important)—it also builds a project history you can draw from later for future phases, facilities management, or even marketing. Taking a few minutes to organize your archives with date-stamped folders and clear naming conventions signals professionalism and foresight. Trust me, your future self (and your team) will thank you.