





Blueprint for Success: Expert Strategies for Setting Up a Revit Project for Interior Design


Establishing a Solid Foundation: Project Templates and Standards
Launching a Revit project for interior design isn’t as straightforward as just firing up a new file and getting to work. Seasoned interior designers often say the real magic starts before you even draw your first line—by building a rock-solid project template. If you’ve ever tried to use one of the standard Autodesk templates, you probably know how limiting they can be for interiors. Most firms find it’s well worth the extra effort upfront to craft a customized template that embodies their unique standards, object libraries, and preferred workflows.
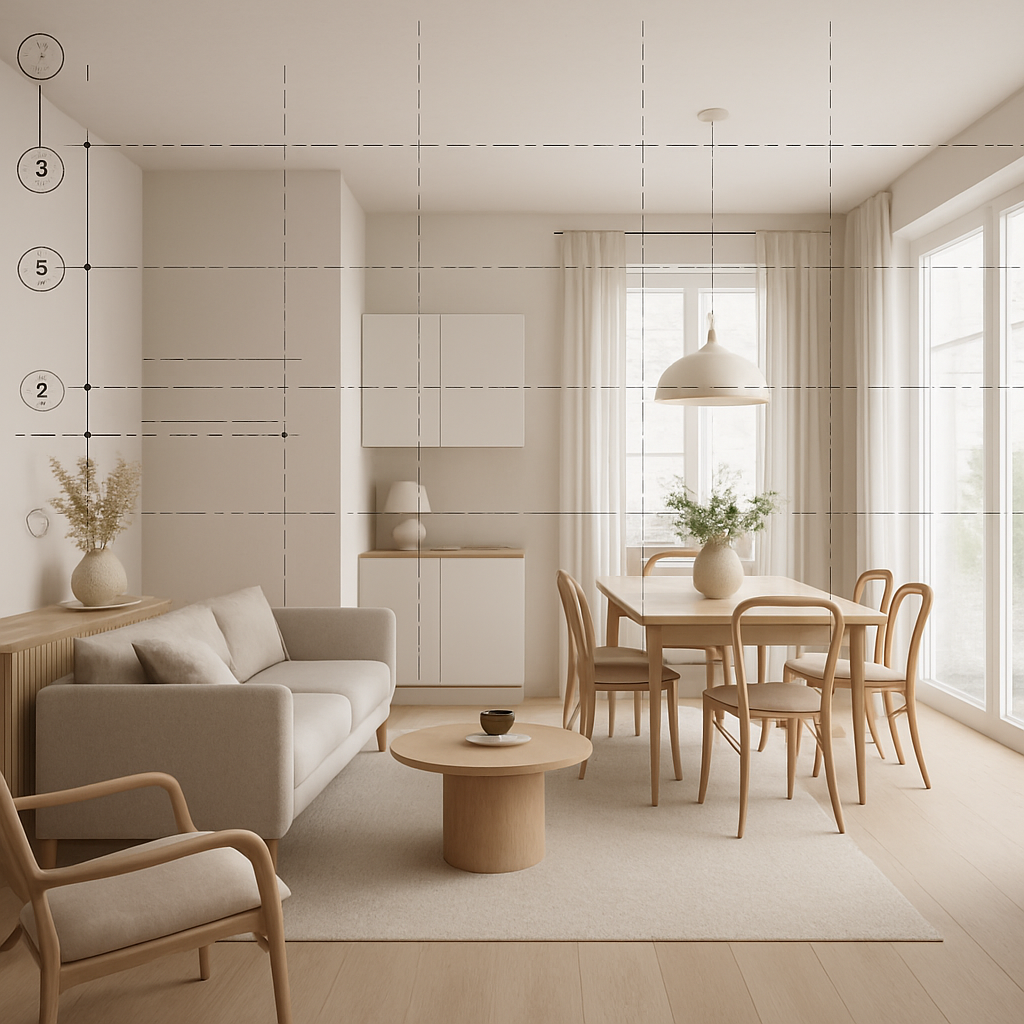
Think of a good template as your project’s blueprint—it should come packed with tailored view templates, preset sheets, thoughtfully chosen line weights, and annotation styles that echo your firm’s branding. For interior designers, this also means having a ready-to-go library of custom families: sofas, pendant lights, millwork, finish materials, you name it. By baking these elements into your template, your team sidesteps tedious setup on every new project and can trust that each job starts from the same consistent foundation. For example, if your studio has a signature look for floor patterns or ceiling callouts, you can capture that in a view template right from the start, making your graphics instantly recognizable. Sure, setting all this up is an initial investment—but it pays back big time by preventing repetitive tasks and minimizing errors down the line.
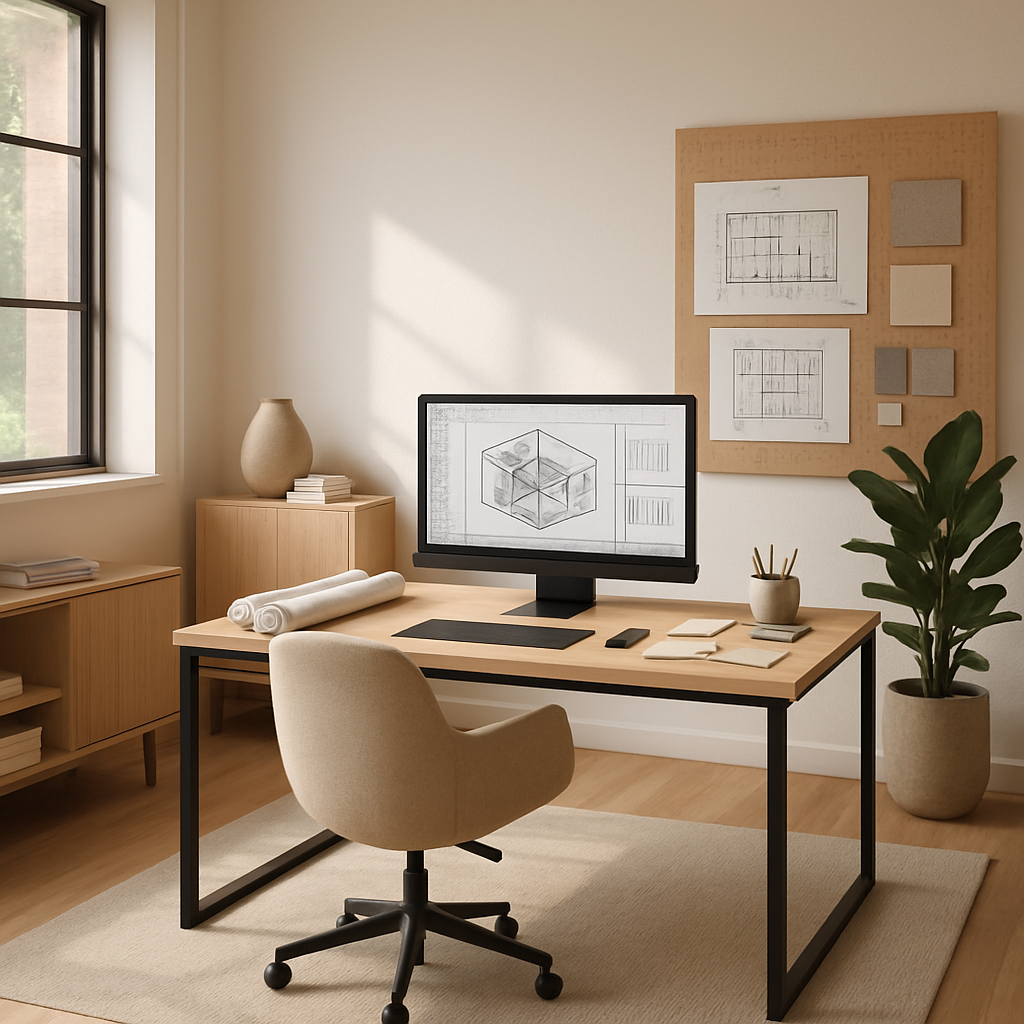
Of course, a template isn’t something you ‘set and forget.’ As your processes evolve, so should your template. Maybe you’ve created new families, adopted different workflow strategies, or updated your graphic standards—whatever the change, revisiting and refreshing your templates keeps your documentation sharp and your team working efficiently. Some interior studios even tap a “BIM champion”—that go-to person who keeps the template (and everyone’s sanity) current and organized. It’s a simple trick for keeping model standards from drifting off course over time.
Here’s another pro tip: add placeholder sheets and schedules to your template, even if they’re totally blank at first. It’s a subtle nudge for the entire team to think through documentation needs from day one, instead of scrambling to add schedules or legends when the deadline is looming. With a tailored template anchoring your interior design project, your team is set up for smoother sailing—long before the modeling even begins.
Setting Up Levels, Grids, and Linked Models for Interior Context
Nailing the project context is non-negotiable in interior design, especially if you’re working inside existing buildings or coordinating with architectural and engineering teams. The backbone of any good Revit setup? Accurate levels and grids. The experts will tell you: always start by double-checking the main building’s levels—these usually come from the architect or a reliable as-built survey—and align your interiors model to match. Getting this right at the beginning is crucial for seamless collaboration, whether your team is just focusing on interiors or working alongside a whole swarm of consultants.
When you have access to the architectural model, don’t just import or redraw everything—link it instead. Linking keeps the master model intact, trims down your file size, and lets you automatically pick up updates from the architect. Early on, take the time to set up shared coordinates. It might sound like a technical headache, but believe me, a few minutes spent here saves hours of frustration and eliminates alignment headaches later. Misaligned models can cascade into mistakes in drawings or, worse, during construction—definitely something you want to avoid.
Many firms create a dedicated “coordination view” using a custom view template where all the linked models, levels, and grids are visible but toned down. This acts as your reference workspace—a place to check alignments and relationships—without cluttering up your main design or presentation views. For interiors, everything hinges on precisely aligning finished floor levels, ceiling heights, and even furniture placement to the base building geometry. If you get your levels dialed in upfront, you’ll sidestep a world of pain later on.
One more practical tip: always pin your linked models and key reference elements. This simple move prevents someone from accidentally shifting things out of place. When you pair pinning with smart use of worksets, you’ll keep your model running smoothly and help teams manage visibility on larger or more complex projects. With this kind of disciplined setup, designers can focus on what they do best—bringing creative visions to life—confident that everything is anchored right where it should be inside the building envelope.
Optimizing Worksets, Views, and File Management for Team Collaboration
Everybody talks about Revit’s collaborative superpowers, but ask around in interior design circles and you’ll hear one common refrain: without a little extra planning, team projects can still become a tangled mess. One of the top blunders? Overlooking the structure of worksets and view organization. It may seem minor, but it can lead to confusion, lost hours, and the occasional “who overwrote my work?!” crisis. Wise teams set up a clear workset strategy right at the kickoff, tailored to their project phases and the disciplines that’ll be involved. Breaking out worksets for furniture, partitions, ceilings, and casework isn’t just about keeping the file organized—it lets multiple designers dive in simultaneously without stepping on each other’s toes.
Just as crucial is wrangling your views into a logical structure. If you’ve ever wrestled with the default Revit view browser, you’ll appreciate why most interior design teams rely on practical naming conventions and filters. Sorting views by their function—think “Presentation,” “Documentation,” or “Coordination”—and by area or discipline, makes navigation a breeze. No more hunting through endless view lists; if you’re handling furniture layouts, you can jump straight to the right spot. This kind of organization cuts down on errors and makes handoffs between team members seamless.
File management is another area where discipline pays off. Adopting a naming and versioning routine—especially for central files in workshared projects—can be a lifesaver. Frequent, descriptive saves (like popping the date and your initials into the filename) act as your safety net in case anything goes sideways. And don’t overlook the importance of regular model “audits”: purging unused families, compacting the file, and resolving warnings can make a world of difference in model stability and keep your team humming along efficiently, especially as the project grows in complexity.
If you’re working on a bigger project, cloud platforms like Autodesk BIM 360 or ACC have become pretty much standard. They let teams spread across different cities—or even time zones—work together in real time. These platforms do raise the stakes for keeping workset and view standards tight, though. A well-organized Revit project, built specifically for interiors, not only avoids common collaboration pitfalls but also creates a genuinely supportive environment where good design can flourish.
Building a Tailored Interior Design Content Library
If the project template is the backbone of your Revit setup, then the content library is unquestionably the heart. For interior designers, this is where you really set yourself apart. Unlike architectural models, which might rely heavily on generics, interiors demand a wide variety of specialized families—everything from custom-built-in millwork and statement lighting to unique furniture pieces and luxe finishes. Relying solely on Revit’s out-of-the-box families or manufacturer downloads usually leads to frustration, since these rarely tick all the boxes for geometry, data, and that all-important graphic flair.
Experts in the field always recommend building your own curated library of high-quality, parametric families that truly reflect your firm’s way of working and design sensibilities. Start by identifying your go-to elements and develop these in-house. Make sure they include the right level of detail (not too chunky, not too heavy), use shared parameters for scheduling, and come with the correct materials preloaded. For example, if you regularly specify a custom sofa, build it so you can adjust its length, upholstery type, and leg finish with just a few clicks—and don’t forget to embed the manufacturer data for easy scheduling and procurement. Yes, it takes some effort, but this level of detail pays off by making your models more flexible and your documentation far more reliable.
Material libraries deserve just as much attention. Interiors often involve a huge range of finishes—think paints, wallcoverings, wood species, fabrics, and all those subtle textures that make a space feel lived in. Creating a centralized material library, complete with realistic render settings and accurate physical properties, lets you quickly iterate design options and produce photorealistic visuals. This isn’t just about impressing clients (although that’s always a bonus); it also speeds up coordination with consultants and makes specifications more precise. Regularly pruning outdated materials, updating manufacturer info, and improving asset quality keeps your library lean and sharp—always ready for the next big project.
Some firms even appoint a dedicated BIM content manager—a kind of digital librarian whose whole job is to review and approve new families before they’re added to the shared library. This gatekeeper role helps maintain high standards, ensuring you don’t end up with a bloated, inconsistent collection that drags down performance and leads to documentation headaches. In short, a well-managed content library is an investment that pays you back on every project, big or small.
Leveraging Schedules, Tags, and Data for Seamless Documentation
One of Revit’s true superpowers for interior designers is its ability to automate so much of the documentation process through smart schedules and tags—but to really harness this, you need to set things up intentionally from the beginning. Top designers recommend building custom schedules for your main project categories—furniture, finishes, lighting, millwork—right in your project template. These should be tailored to match your firm’s documentation standards, with all the necessary shared parameters included in your families, from manufacturer codes to finish options and installation notes.
Tagging also deserves some serious thought. Instead of settling for default tags, most firms design their own custom tag families that display just the right information for each drawing type. For instance, on a furniture plan, you might want a tag that shows a unique item code, while your finish plan tags might highlight specified materials along with quick install notes. Standardizing these tags and schedule templates across your projects helps keep documentation clean and minimizes the risk of manual data entry errors—still one of the biggest headaches in design documentation.
If you’re looking to level up, some advanced teams integrate their Revit schedules with outside databases or specification software. For example, you can export your schedules to Excel for handoff to procurement teams, or even link them to a project management platform. It takes some extra technical setup, but the payoff is a smoother workflow that bridges the gap between your design team and the folks handling purchasing, fabrication, or installation. It’s the kind of detail that might not show up on the cover sheet but makes everyone’s job easier behind the scenes.
And don’t forget quality control. Experts strongly advise routine QA/QC reviews of your schedules and tags throughout the project. Built-in automated checks—like flagging missing data or duplicate codes—can help you catch small mistakes before they snowball into bigger issues. By making data-driven documentation a core part of your Revit workflow, you’ll deliver more accurate, coordinated, and polished project deliverables—all while saving your team countless hours of manual editing.