





Unlocking Revit Precision: Mastering Levels and Grids for Foolproof Project Foundations

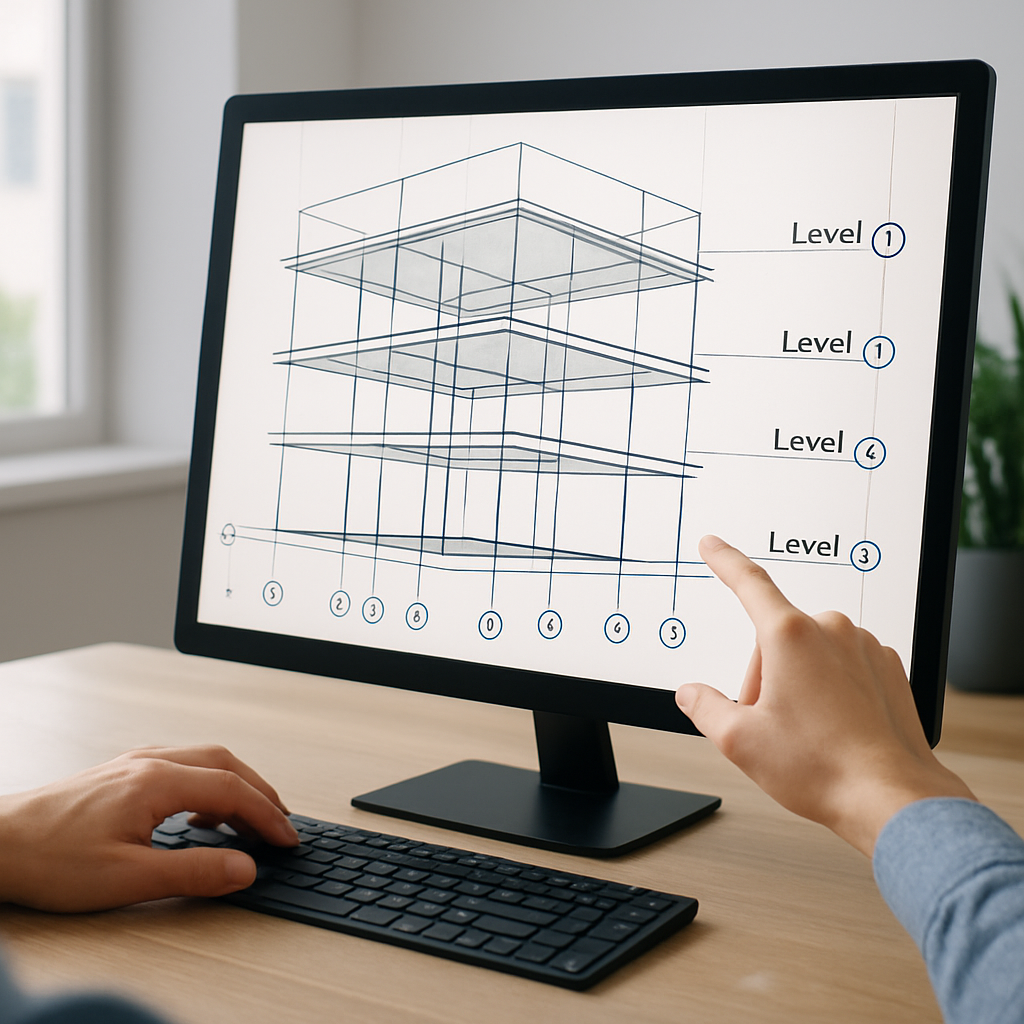
Why Levels and Grids Are the Unsung Backbone of Revit Projects
If you’ve ever started up a new Revit project, you’ve probably zipped through setting up Levels and Grids, treating it like just another step to check off before the “real” design work begins. But here’s the thing: ask any experienced Revit user, and they’ll tell you Levels and Grids are so much more than a formality. In fact, they quietly shape how smoothly your entire project unfolds—from ensuring your model stays accurate and easy to work with, to making collaboration with teammates much less of a headache. When you approach these elements with some strategy and care, they become the invisible framework that holds your project together, making coordination and documentation so much clearer down the road. In this article, I’ll walk you through a detailed, beginner-friendly look at not just how to put down Levels and Grids, but how to do it with intention. Whether you’re brand new to Revit or just looking to polish your fundamentals, you’ll find out how a thoughtful setup pays dividends at every stage of your project.
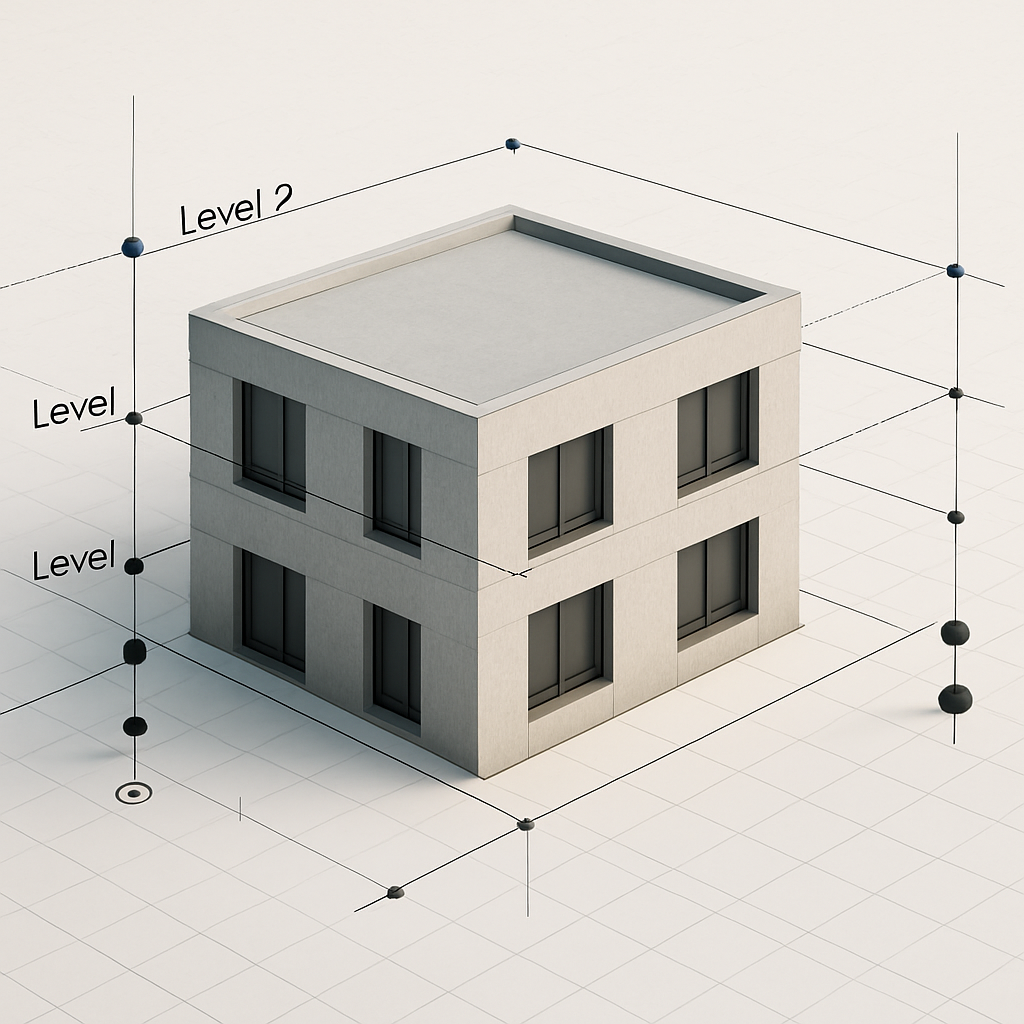
Setting Up Levels: Beyond Basic Elevation Lines
Let’s be honest—at first glance, Levels in Revit might seem like child’s play. You just draw a few lines in an elevation or section, call them “Level 1,” “Level 2,” and move on, right? Well, not quite. If you dig a little deeper—something seasoned Revit users do instinctively—you’ll realize that how you configure those lines can actually impact a whole lot, from how your views are generated to where your families land in the model. Levels aren’t just visual cues; they’re the model’s backbone, loaded with data and logic.
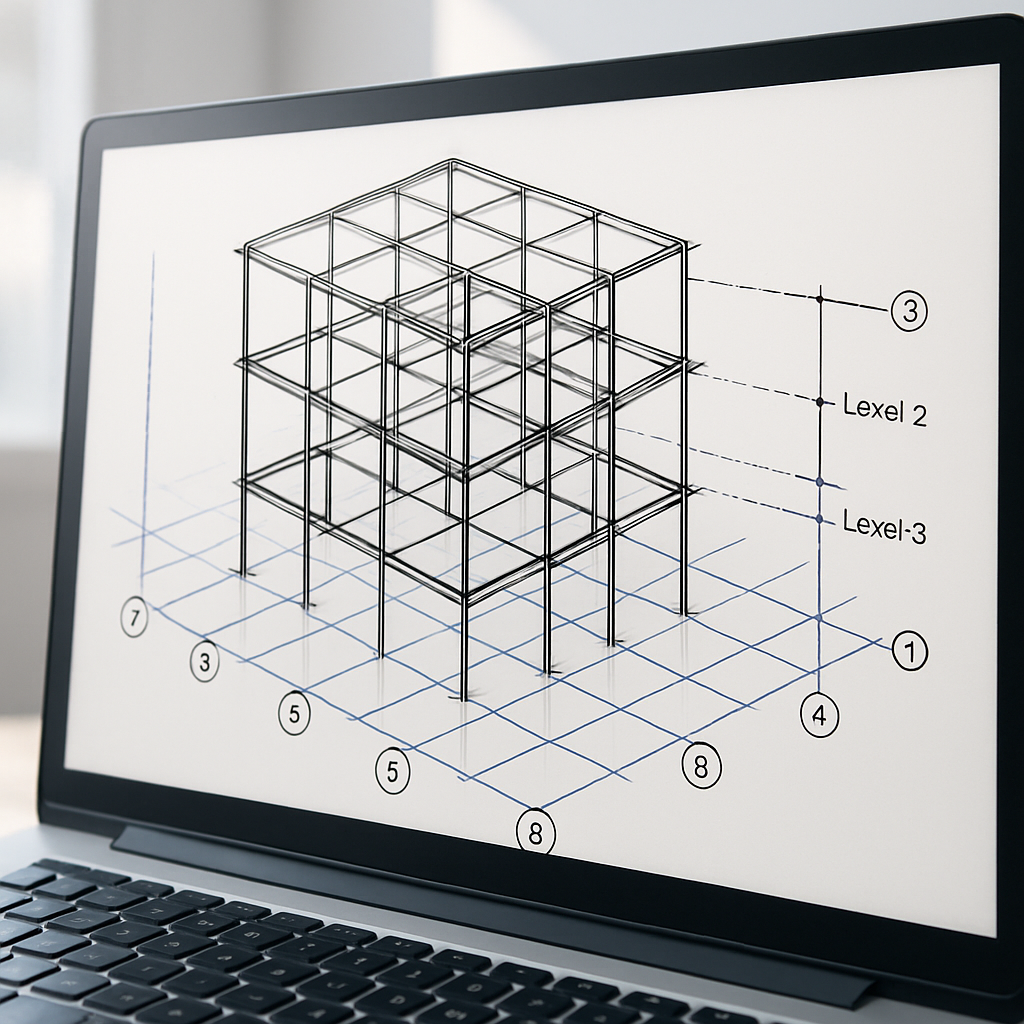
It’s worth going beyond the default names and ambiguous numbers. For instance, labeling a level as “Level 1 – Ground Floor” instead of just “Level 1” might seem trivial, but on large projects with dozens of floors, zones, or team members, this level of clarity can prevent a ton of confusion. And if you’re working on a complex site or collaborating across disciplines, it’s a smart move to establish Levels early and lock them to your shared project coordinates. I’ve seen more than one team run into a world of pain simply because elevations or linked models didn’t line up.
A quick pro tip: always draw your Levels in an elevation or section view. It’s tempting to jump into a plan, but that shortcut can cause accuracy issues and confusion later on. And when you set your elevations, use rounded, logical numbers that match construction standards—go with 4000 mm, not 3987 mm, for example. Contractors will thank you, and you’ll avoid endless back-and-forth over decimal points. Revit even lets you lock Levels to reference planes or grids, so if design changes come up (and let’s face it, they always do), you can tweak heights without throwing your whole model out of whack. Taking a few extra minutes on these steps can honestly save you hours—sometimes days—of frustration later.
Another habit to build: extend your Levels well beyond the building footprint. It might look excessive at first, but trust me, once you start adding grids, or if you ever expand the project scope, you’ll be glad every reference has a clear, unambiguous anchor. This is especially helpful for multi-building sites or phased projects, where consistency is everything. In short, a little extra thought up front with Levels sets you up for a much smoother ride all the way through modeling and documentation.
Grids as Collaborative Anchors: More Than Just Guidelines
Grids in Revit are often described as the “DNA” of a building—and honestly, that’s not an exaggeration. They organize everything from columns and structural bays to walls and cores, all with geometric precision. But here’s the catch: just spacing them evenly across your plans, without much thought, can backfire quickly. Good Grids are based on how the building actually works—lining up with structural logic, façade modules, circulation paths, and more.
It’s tempting—especially when you’re under time pressure—to just pop in some generic grids and promise yourself you’ll “fix it later.” But that approach can spiral into a coordination nightmare, especially when your project involves several disciplines. The best way forward? Get architects and engineers talking early about the grid layout and naming conventions. Maybe letters run east-west, numbers run north-south, or vice versa—but whatever you pick, stick with it and don’t use ambiguous names. Duplicating identifiers is a recipe for confusion, especially on big jobs. And if you’re working on a sprawling project, you might want to group Grids by areas or phases to keep things organized.
Another tool you’ll want to take advantage of: pinning your Grids in Revit. It sounds minor, but it’s a real lifesaver when multiple people are working in the same central model. A single accidental nudge can throw off your entire structural system—which, as you can imagine, is not fun to discover late in the game.
Don’t sleep on scope boxes, either. They let you control exactly how far Grids show up in any given view, which keeps your plans from getting cluttered with irrelevant lines. This is especially helpful in big, complex buildings or campus projects where Grids need to span beyond a single floor or area. And a quick tip: use grid bubbles and break segments strategically so your drawings aren’t overwhelming to look at, but still easy to follow as your model gets more detailed. These small touches can make a world of difference in how clearly your documents communicate.
Integrating Levels and Grids for Robust Coordination
While Levels and Grids are powerful on their own, where they really shine is when you get them working together as a tight system. Take structural columns, for example: if you align them to the intersection points of your Levels and Grids, any changes you make to one system get reflected in the other automatically. It’s one of those moments where BIM really proves its worth—turning what might seem like a tedious setup into a truly smart, coordinated backbone for your entire project.
If you’re working with linked models—say, from an MEP or structural consultant—getting your Levels and Grids matched up becomes absolutely critical. One of the best practices (and trust me, your whole team will thank you for this later) is to establish a shared coordinate system right from the jump, using Levels and Grids as common references across all disciplines. This sharply reduces the chance of misaligned floors or misplaced beams, which can be a nightmare to sort out once drawings are already flying around. Revit’s Copy/Monitor tools are your friend here—they help you track changes in linked Levels and Grids, giving you a heads-up if anything goes out of sync. Yes, it adds a bit of process upfront, but the reduction in costly rework and last-minute scrambling is worth every second.
For those looking to take things up a notch, using Revit’s view templates is a game-changer. These let you control how Levels and Grids look and behave across different views. Maybe you want to show only the relevant Grids in enlarged plans, or display everything in your overall site plan for context. Fine-tuning these settings not only makes navigation easier, but also boosts the clarity of your printed documents. By weaving Levels and Grids into your office templates and view filters, you ensure everyone on your team is singing from the same hymn sheet, making it much less likely that something will get mislabeled or missed.
Common Pitfalls and How to Avoid Them
Even the most experienced Revit users can trip up when it comes to Levels and Grids—it happens to the best of us. Probably the most common gotcha is forgetting to lock or pin these elements. All it takes is one accidental drag and suddenly half your model is out of alignment. Another classic mistake is letting Levels and Grids go stale—maybe a mezzanine gets added, or a structural bay shifts, but the reference elements don’t get updated. Suddenly, you’re stuck with hours of rework and a lot of head-scratching.
The way to avoid these headaches? Make it a habit to review all your Levels and Grids at key project stages, like during schematic design, or before you finalize your construction documents. Think of it as an essential checklist item, not just busywork. And don’t underestimate the impact of good communication between disciplines. If everyone sets up their own Levels and Grids in isolation, your models can drift out of sync—which leads to a lot of finger-pointing (and maybe some late nights fixing things). The fix is simple: agree on clear protocols at the start, and spell out your standards in the BIM Execution Plan (BEP). This should cover everything from naming conventions to when and how Levels and Grids should be tweaked. Regular coordination meetings and model reviews can catch issues before they turn into real problems.
And here’s a word to the wise: more isn’t always better. Overloading your model with too many Grids, or using inconsistent spacing, can actually make your drawings harder to read and your model a chore to navigate. Stick with the fewest number of Grids needed to properly define your structure, and only add more as your design really calls for it. Discipline and restraint here help keep your focus on what really matters: clarity and coordination.
Building Good Habits: Levels and Grids as a Foundation for Success
When you look at top-notch Revit models, one thing almost always stands out: the Levels and Grids are rock-solid. This isn’t just about drawing lines; it’s about laying the groundwork for effective teamwork and seamless communication. If you’re new to Revit, it pays to treat these elements with the seriousness they deserve. Take the time up front to set them up thoughtfully, and revisit them as your design matures. Over time, this habit saves you from all sorts of pitfalls and errors—and it’s a great foundation for more advanced techniques down the line.
For beginners, try making Levels and Grids the very first thing you tackle in each new project. If you can, gather your key collaborators for a quick setup session. Use your office templates and dial in your view settings to keep everything consistent, and document your standards for future reference (trust me, you’ll thank yourself later). But don’t think of Levels and Grids as “set it and forget it.” As the project progresses, treat them as living elements—open to review, tweaks, and improvements as needed. This flexible mindset not only helps you avoid mistakes, but also sets the stage for more powerful BIM strategies, like clash detection or automated scheduling in the future.
At the end of the day, the most successful Revit projects are the ones that stay flexible, coordinated, and easy for anyone to pick up. Giving some real thought to how you create and manage Levels and Grids will pay off at every single phase—from your very first concept models to the final days of construction. Mastering these fundamentals unlocks all the collaborative, data-driven power that makes Revit such a strong platform. It all starts with those first lines—so make them count!